How to Make Chickpea Flour
This article may contain affiliate links, please read our disclosure policy.
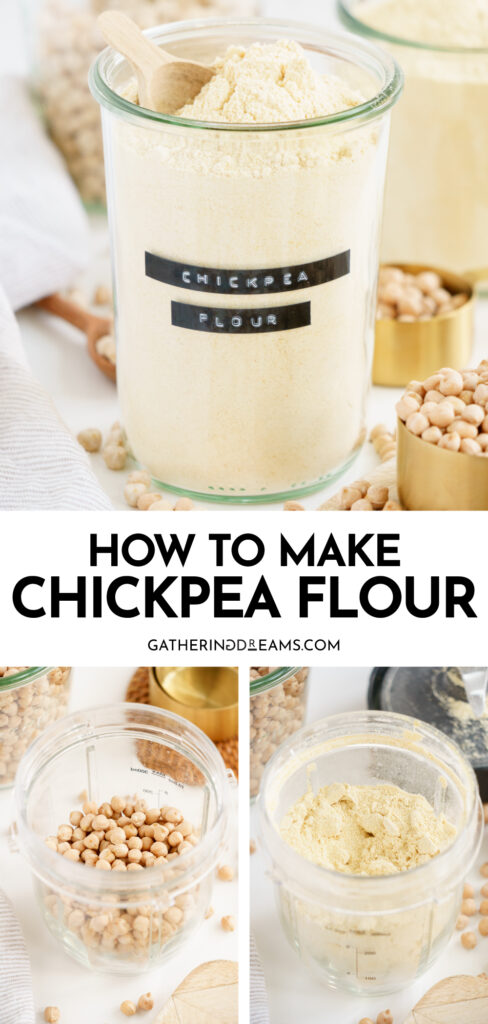
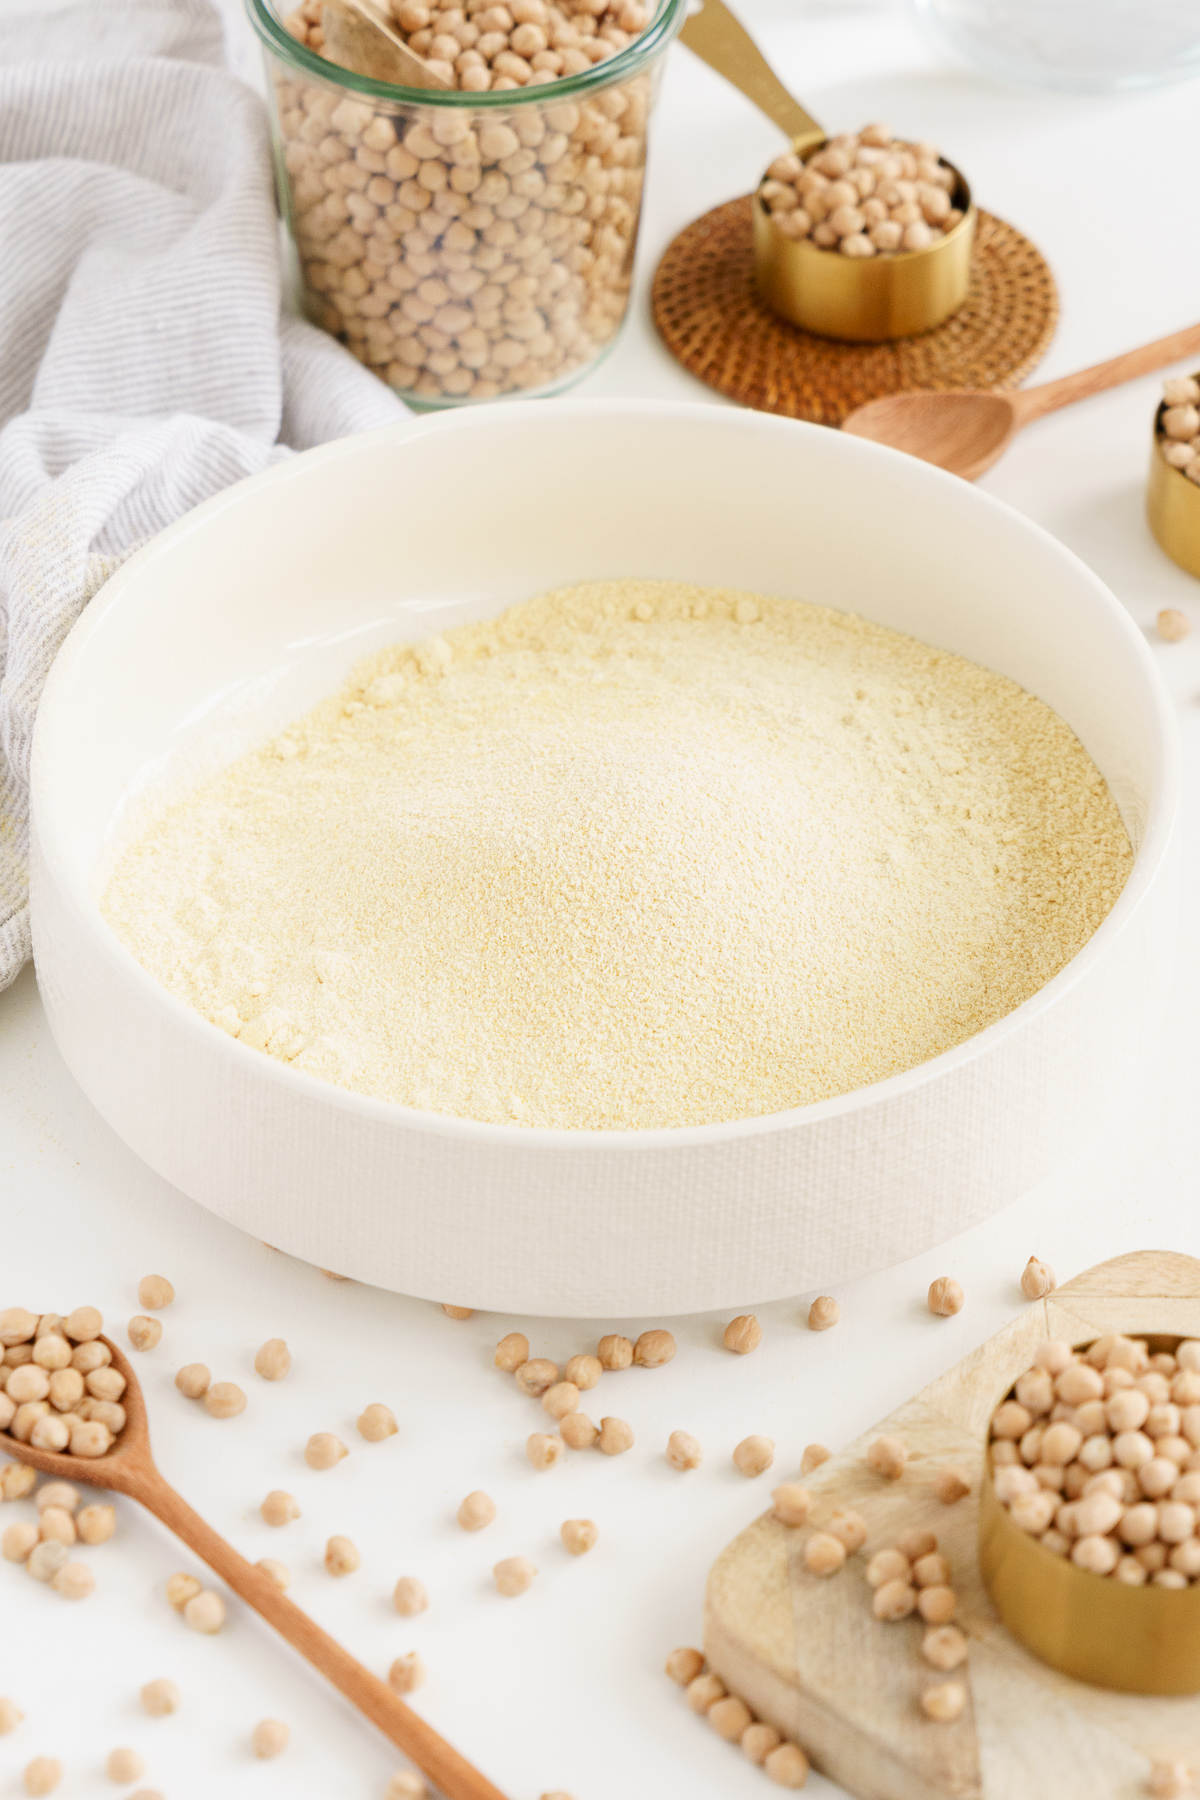
Find out how to make chickpea flour in three different ways using a single ingredient! It’s a nutrient-dense, gluten-free alternative to regular flour that you’ll love!
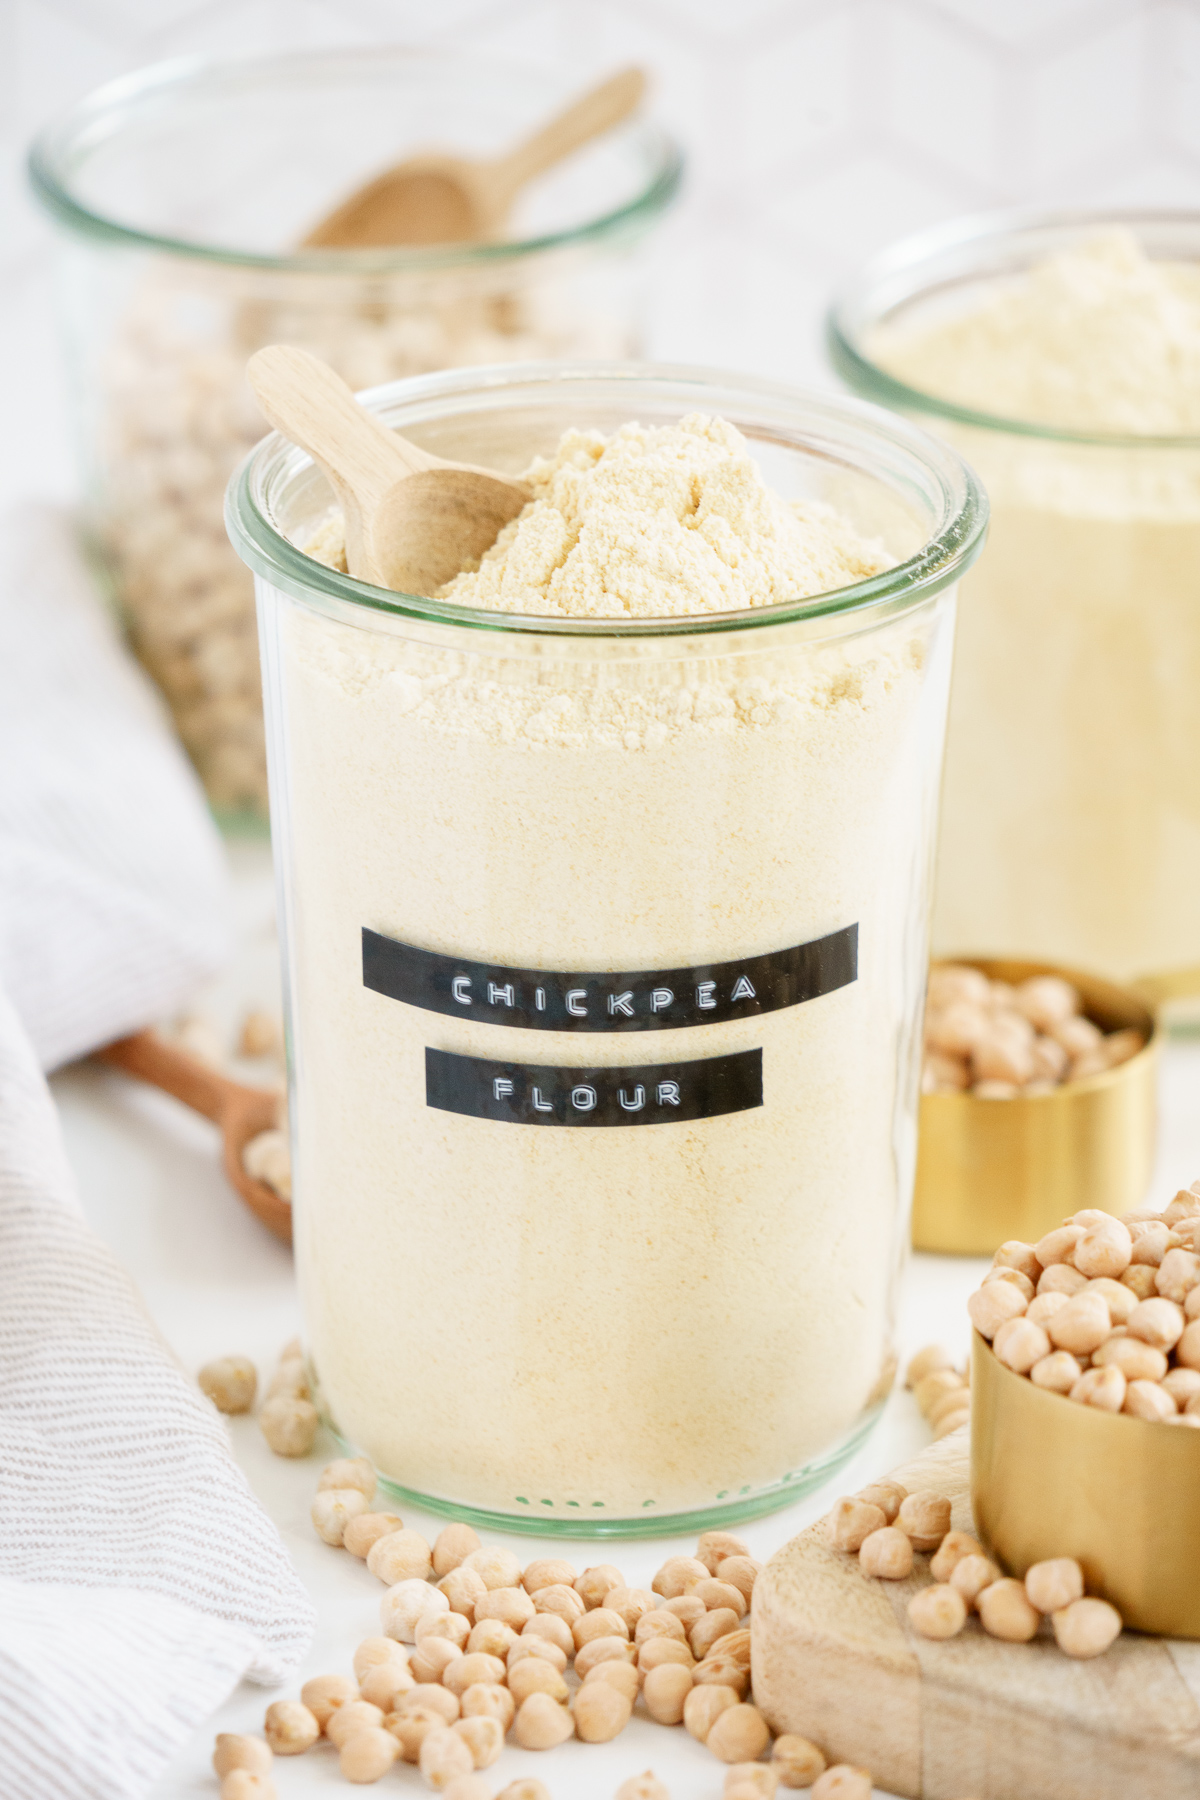
Table of contents
It’s no secret that I’m a huge fan of chickpeas.
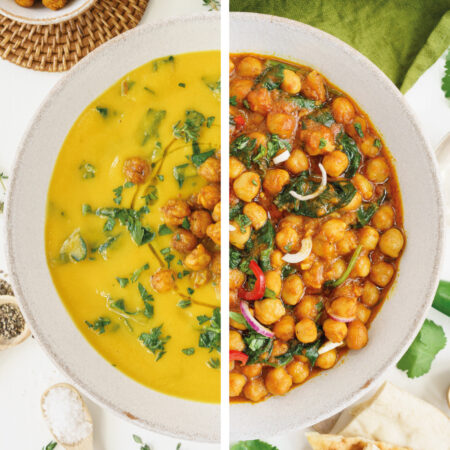
It doesn’t matter whether I’m cooking Mediterranean-inspired food, indulging in Indian cooking (hello chickpea curries!), a lunch bowl, or some roasted snacks – I am a bit obsessed.
That’s when I came across this gluten-free homemade flour.
Chickpea flour is such a staple ingredient in plant-based cooking. You can use it in many recipes, including protein-rich farinata – one of my favorites, chickpea pancakes, and vegan egg muffins.
And don’t even get me started on its incredible nutritional value.
Now, you might not believe me, but making your own flour is just as easy as hopping over to the grocery store for a pre-made bag.
And if that wasn’t enough good news, chickpea flour requires just one ingredient and a high-speed blender.
And if you make it yourself, you’ll know exactly what you eat.
100% pure chickpeas!
I’m going to run you through three methods you can use to make this flour with simple steps.
Just as a heads-up, I usually use the raw chickpea method (because I am all for speed). But the soaked chickpea method makes a more digestible flour.
What you’ll need
You’ll only need a few ingredients to make the chickpea magic happen.
These are:
- Dry chickpeas (otherwise known as garbanzo beans!)
- A powerful blender or food processor
- A trusty sieve
How to Make Chickpea Flour
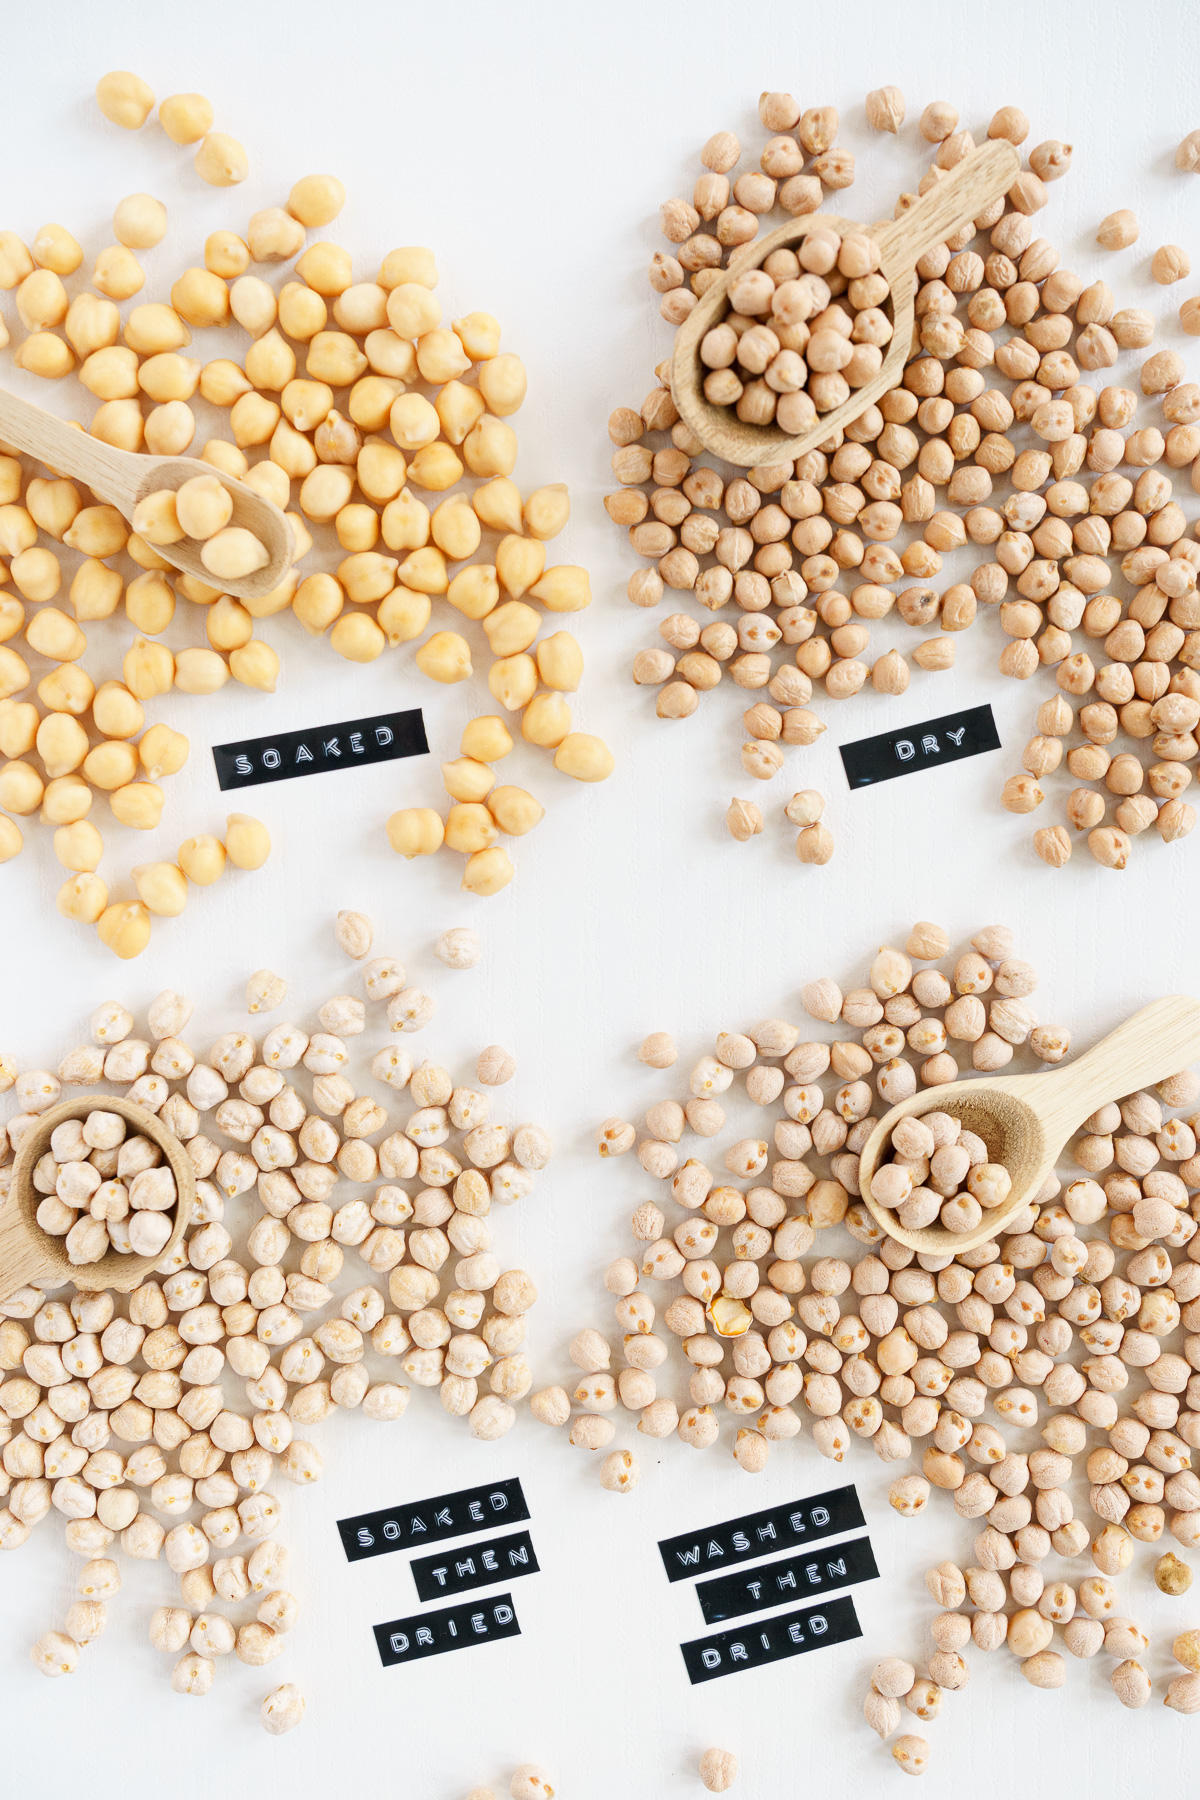
I am going to share with you three methods to make chickpea flour, using:
- Dry raw chickpeas
- Washed then dried chickpeas
- Soaked then dried chickpeas
Option 1: Raw chickpeas
This is the quickest method to make your own flour and the one I often use for speed.
A warning: Chickpeas can be dirty or sprayed with chemicals. As you’re not washing your chickpeas with this method, using organic chickpeas is key!

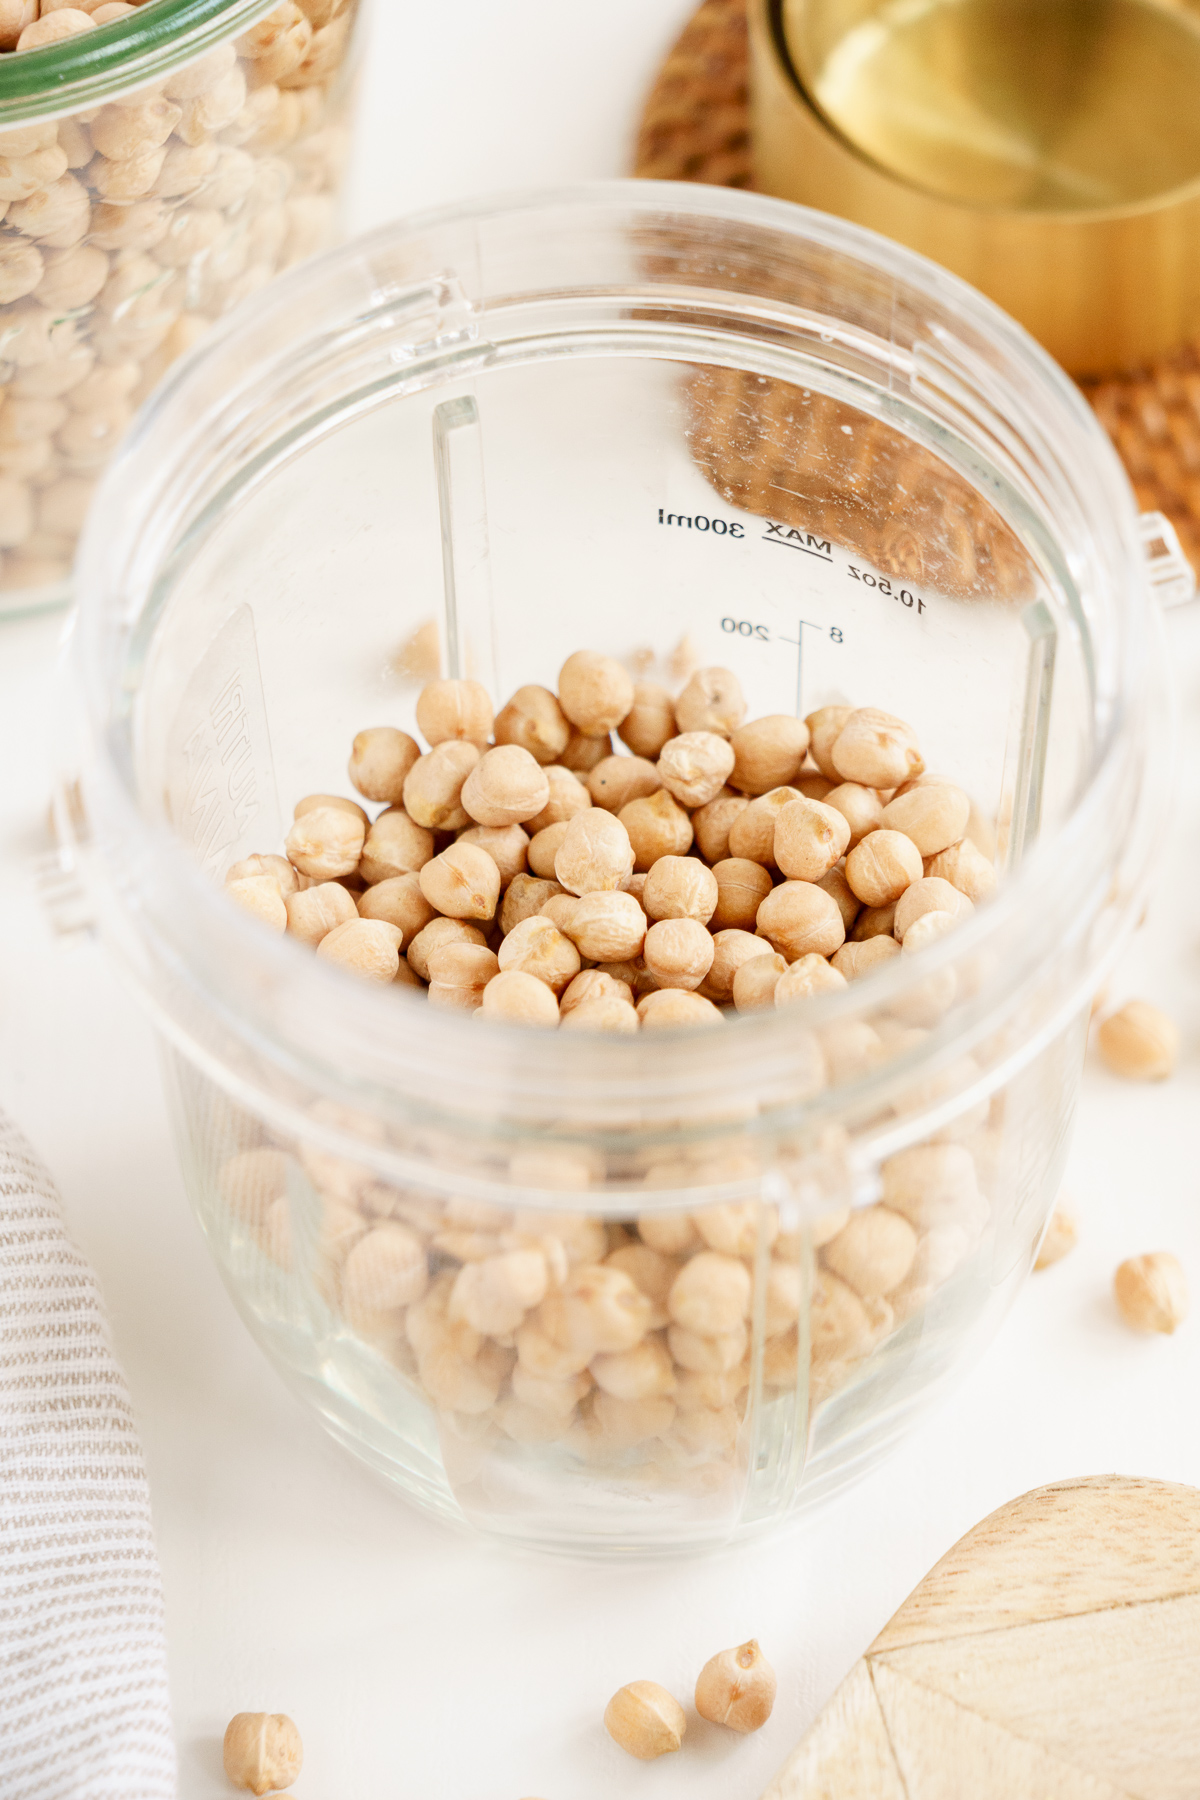
- Blend the chickpeas: Blitz your raw chickpeas in a high-speed blender, spice grinder, or food processor until powdery. I found that using a food processor is slightly better for grinding things down, but anything that blitzes your chickpeas into a finely-milled powder is perfect.
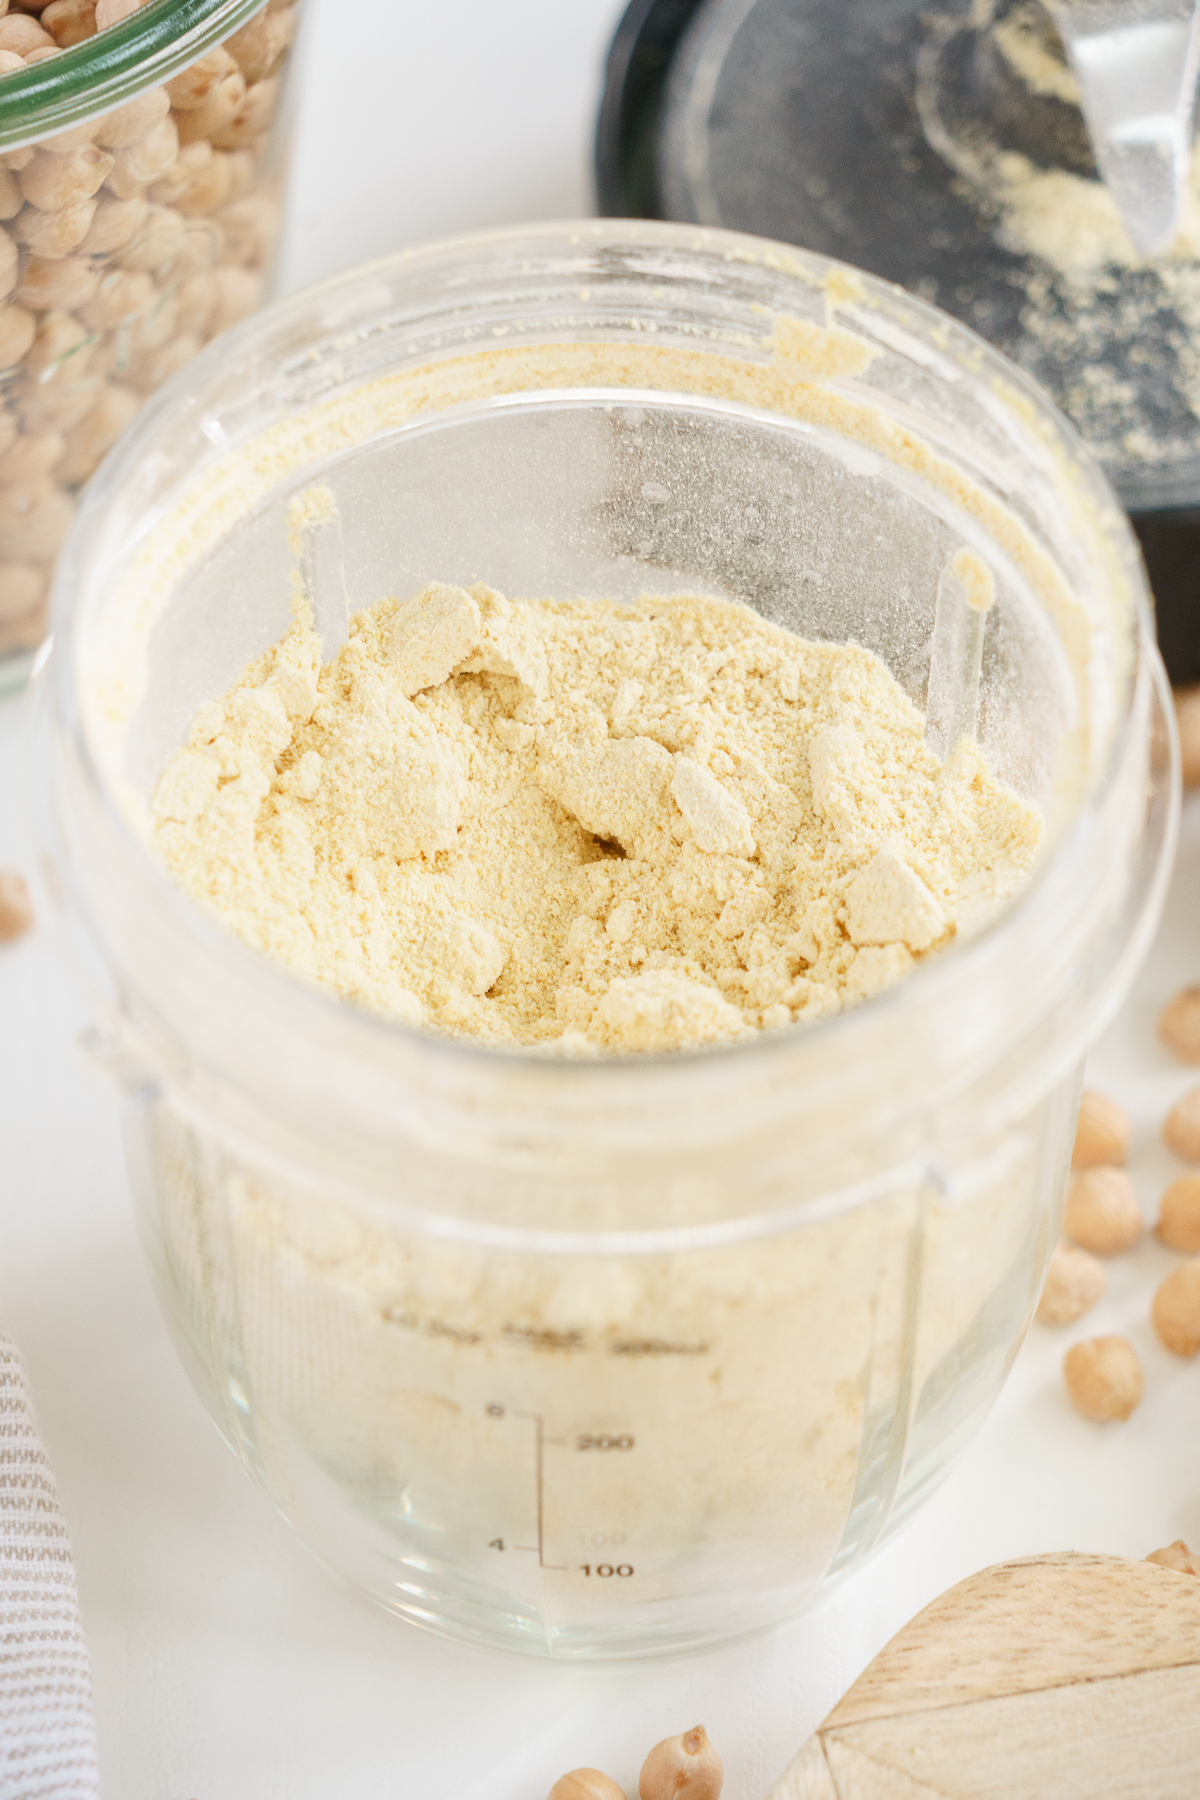
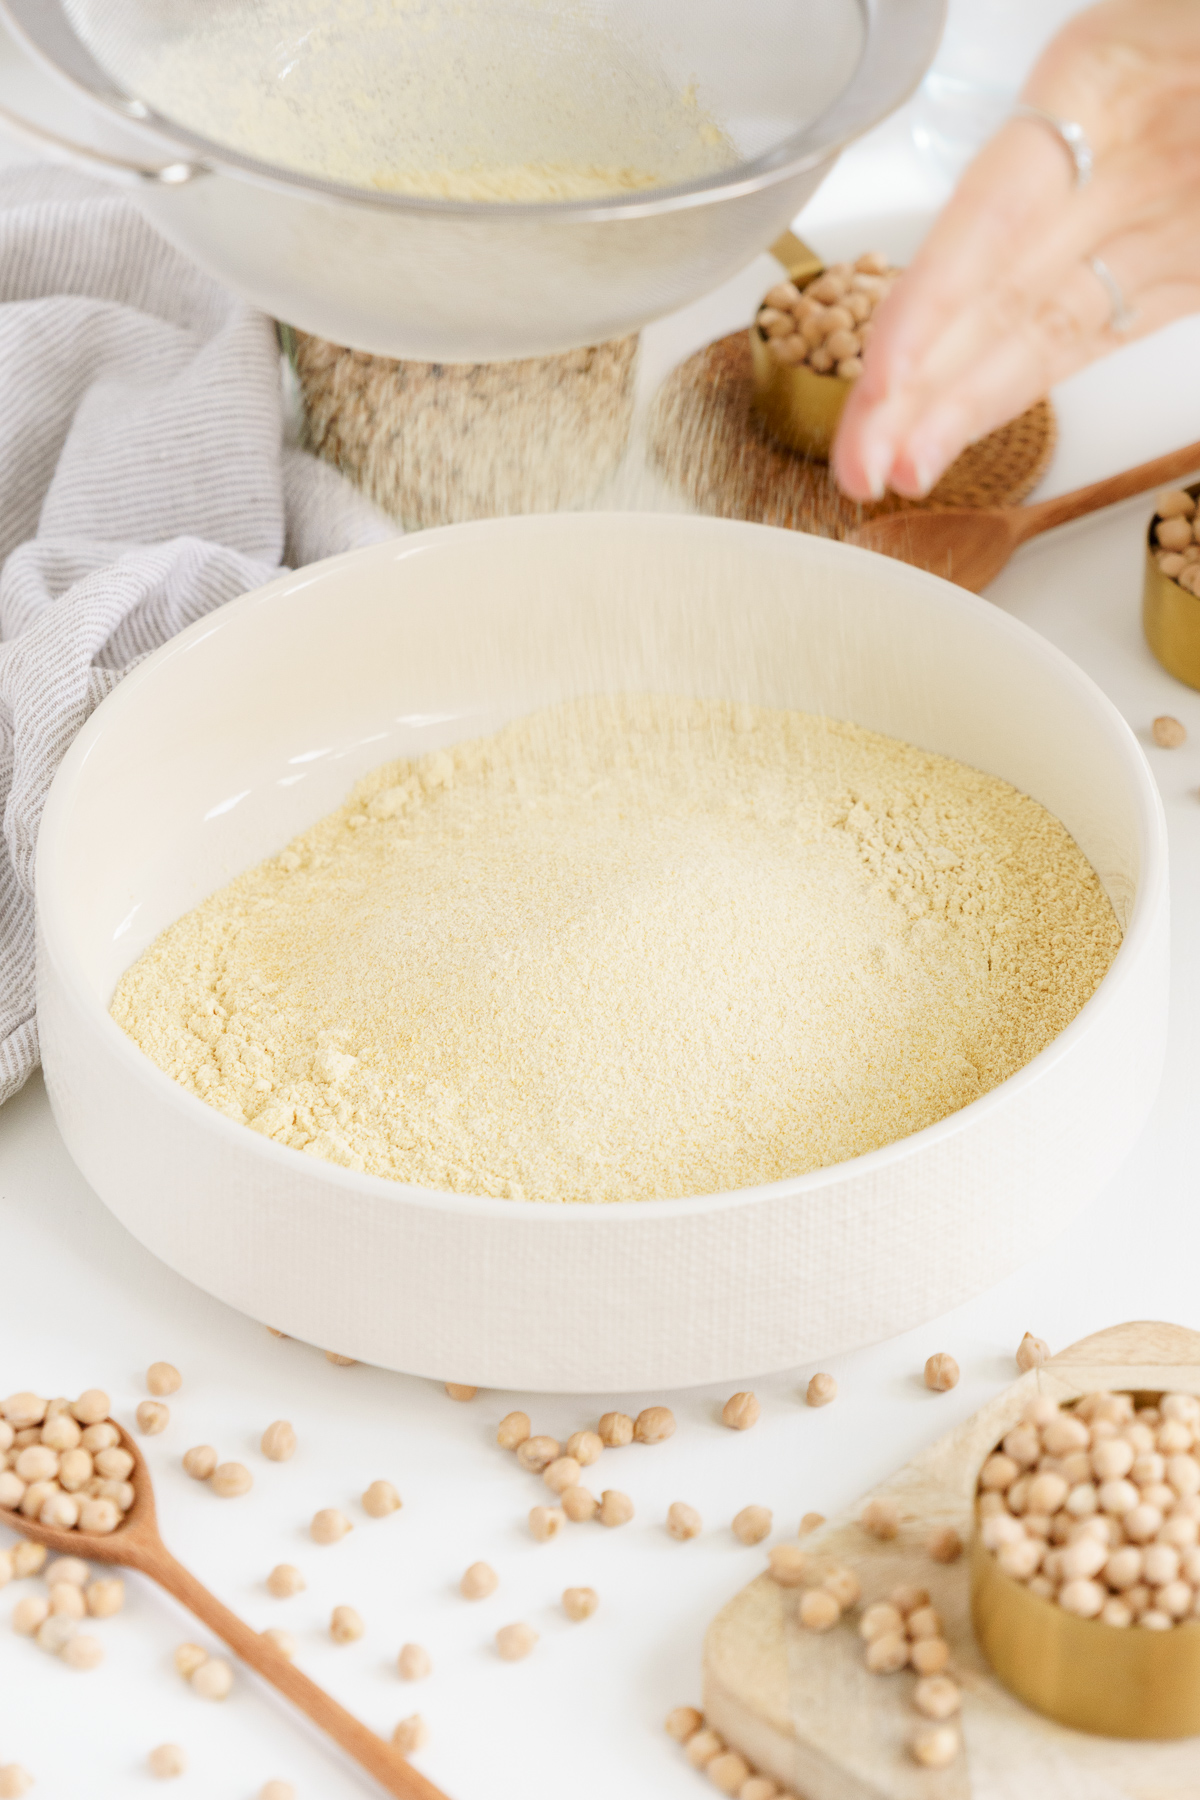
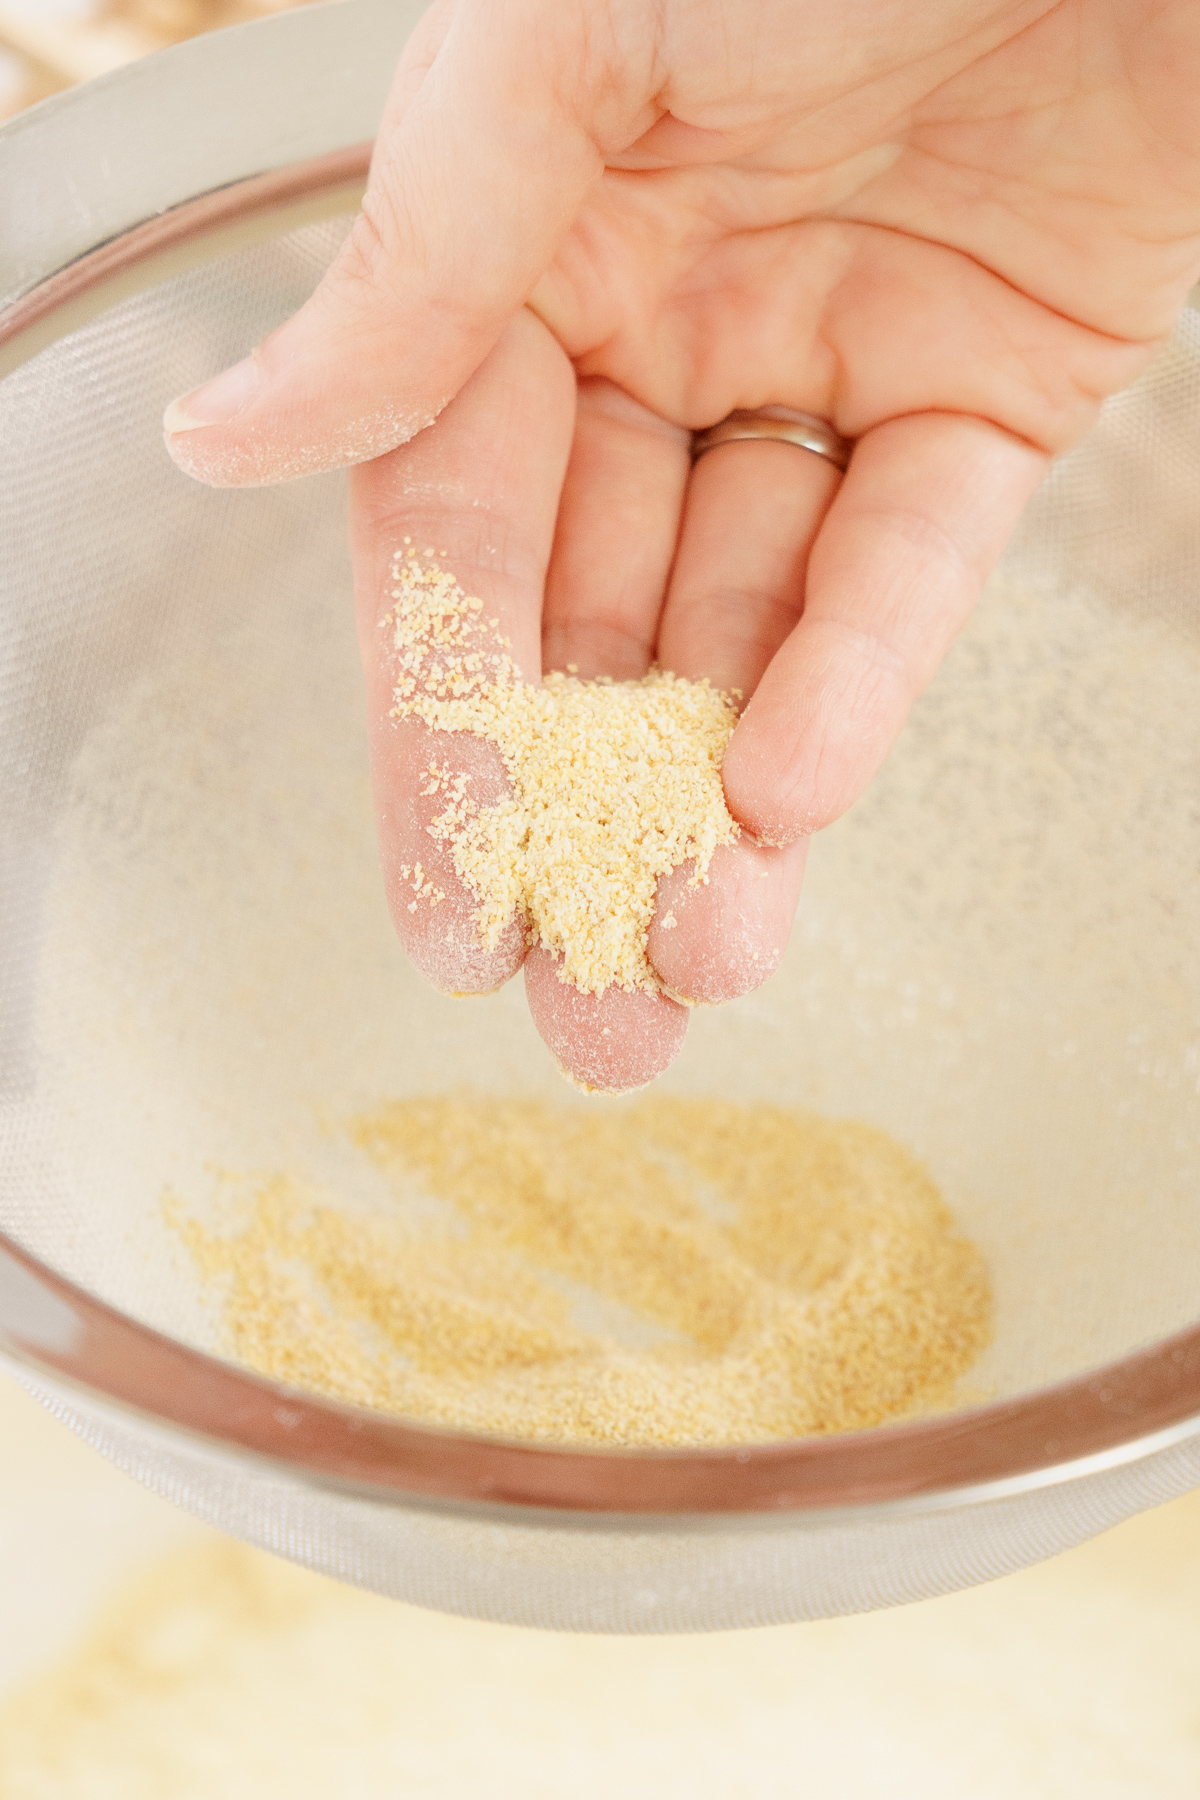
- Sift: Sift the ground chickpeas to separate the fine chickpea flour from large pieces that might remain. Put the milled powder to one side and blend the bigger lumps again until they match the rest of the powder.
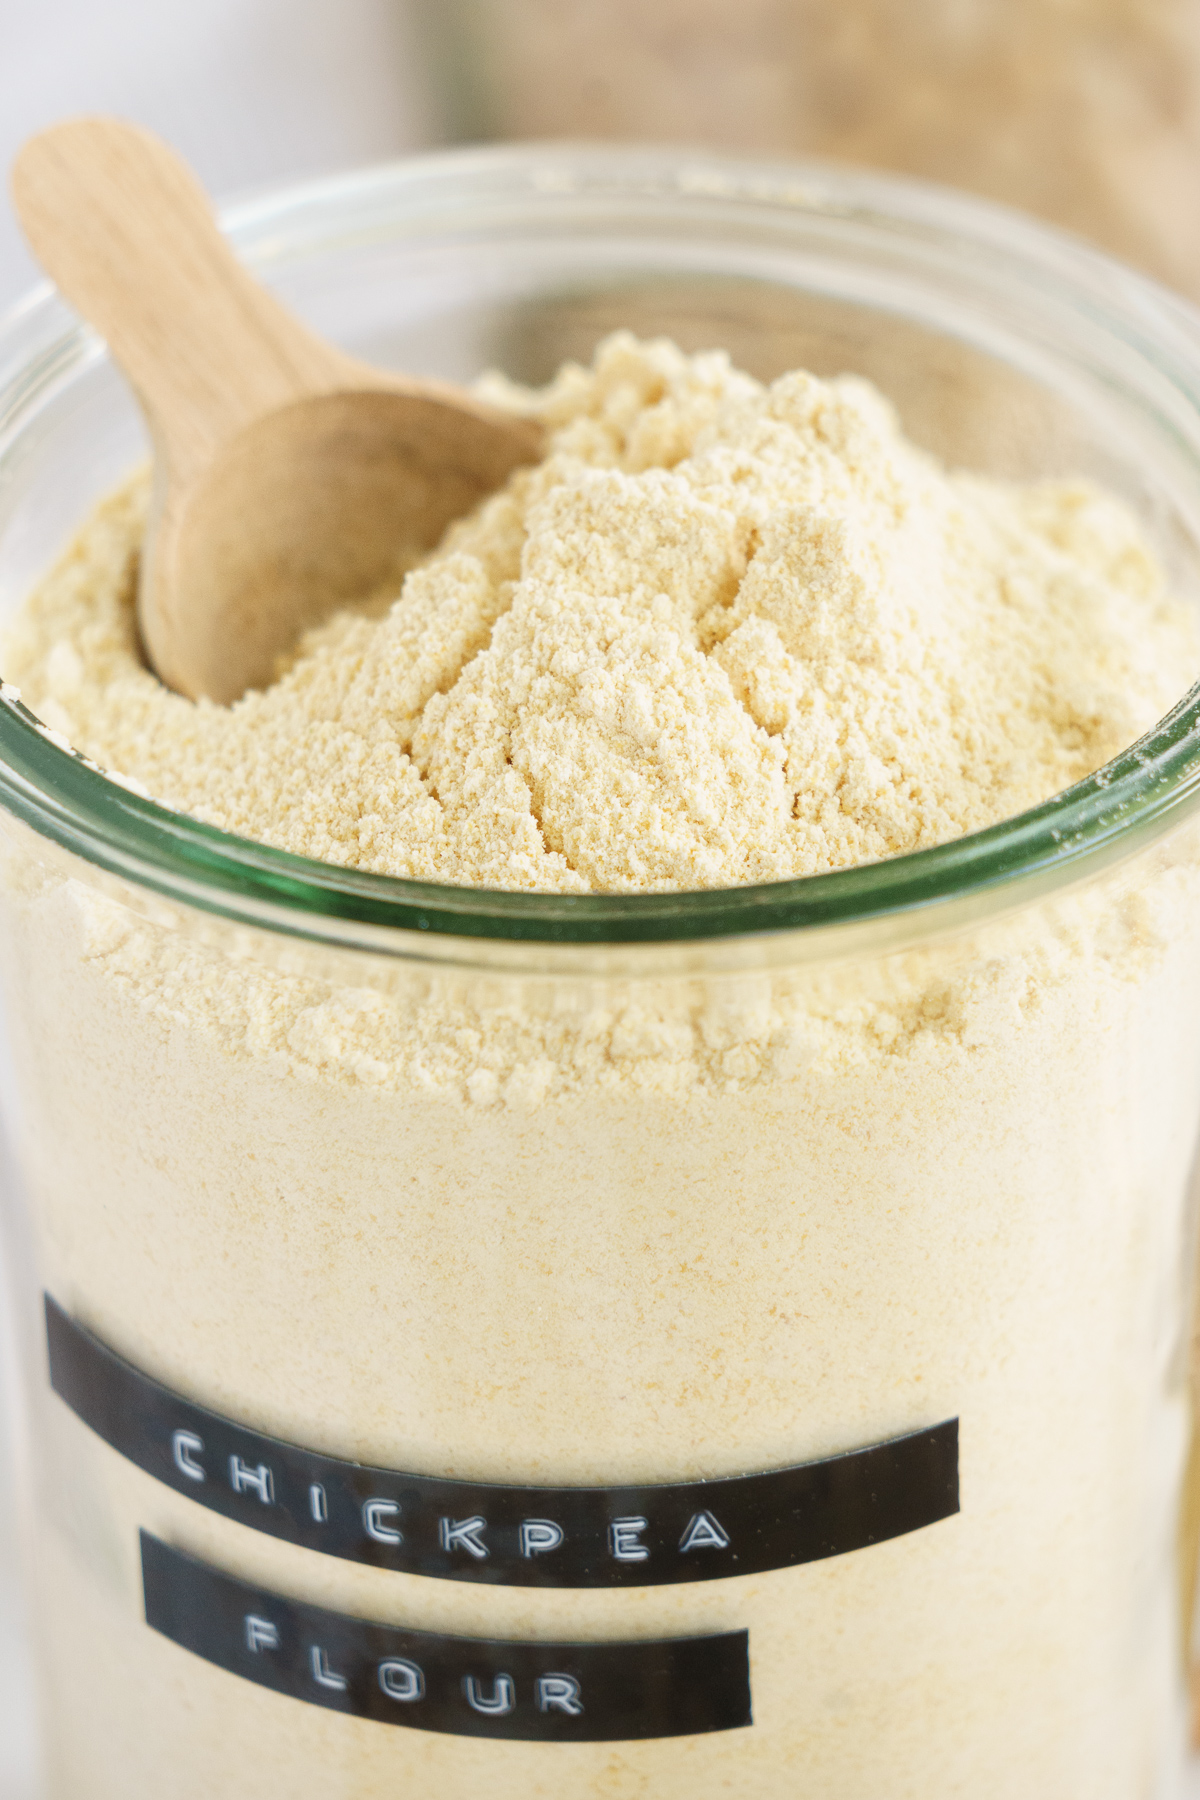
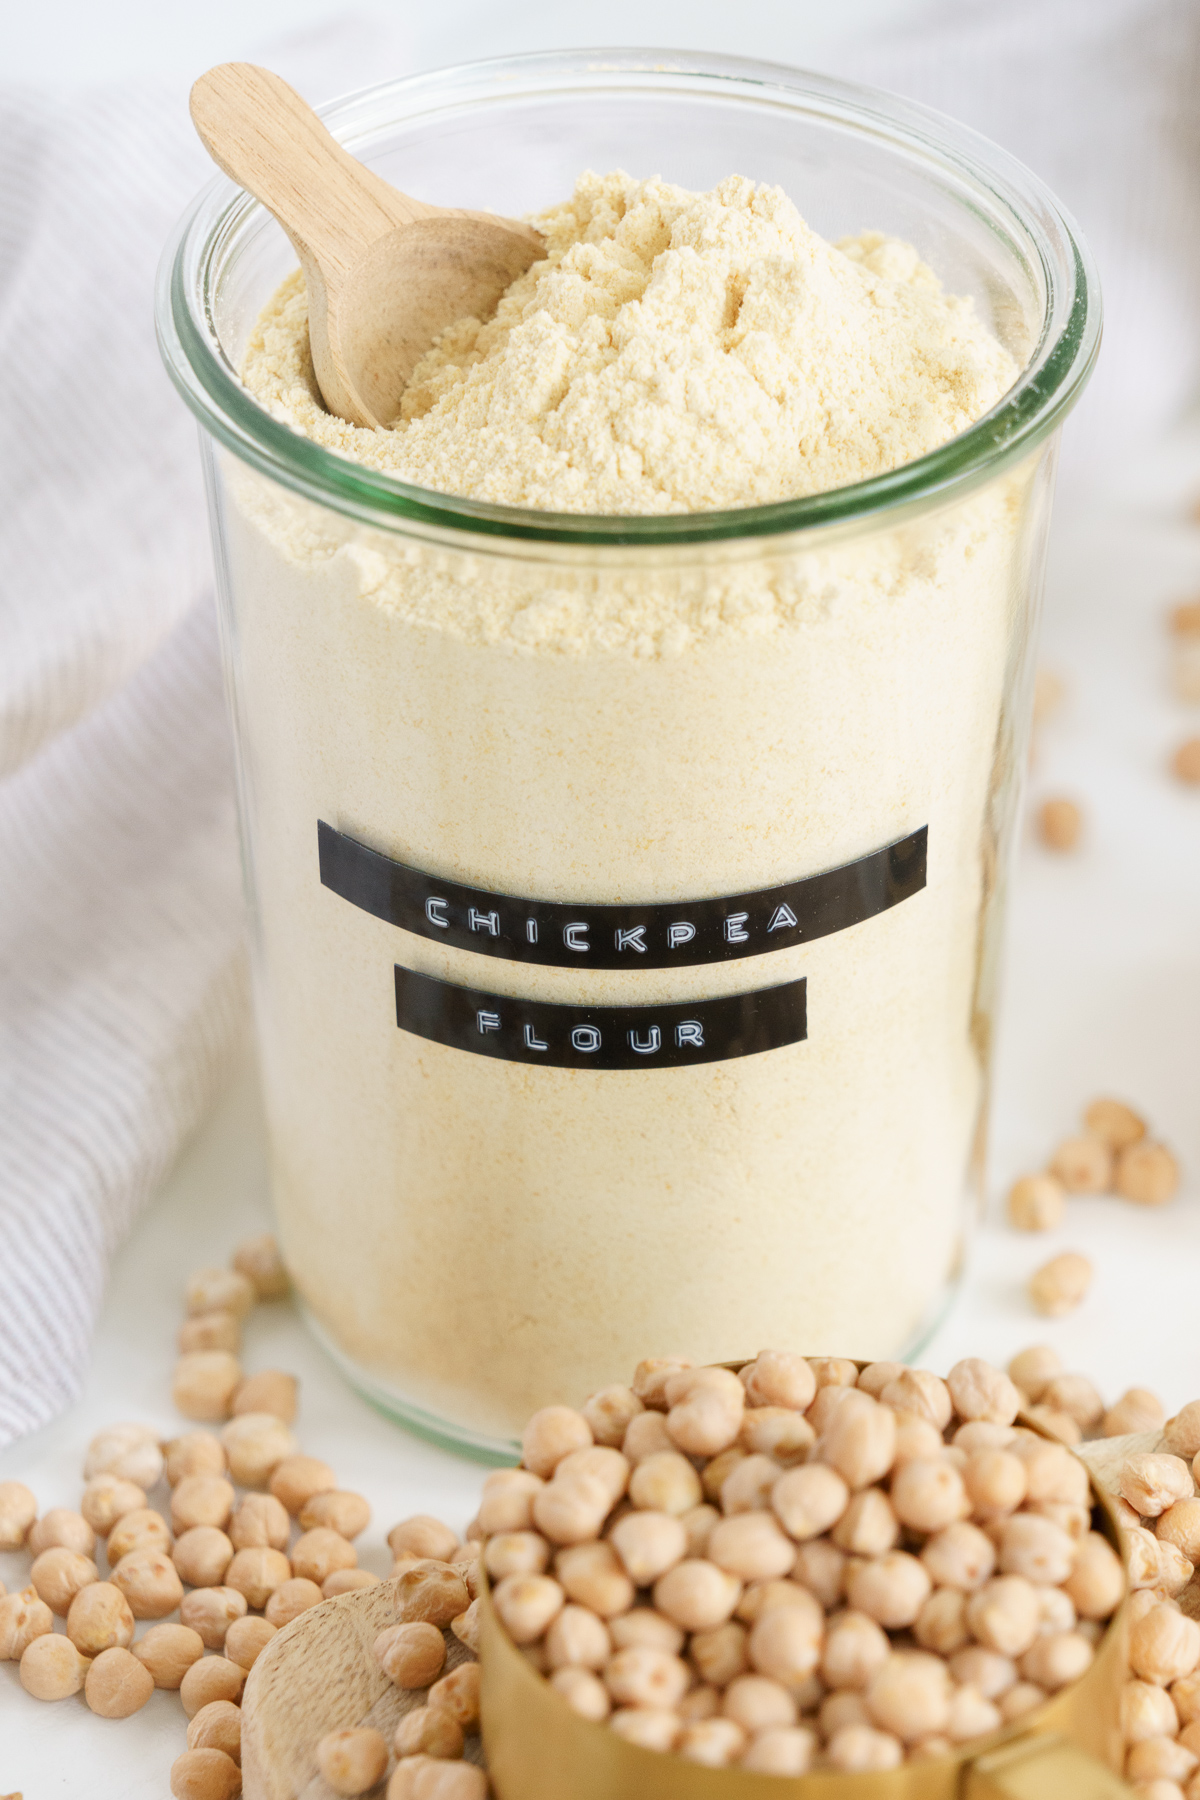
- Store: Store your raw chickpea powder in an airtight container or glass jar for up to 3 months. But honestly, you’ll be lucky if it lasts that long!
FYI: On average, 1 cup of dry chickpeas makes around 1 1/2 cups of chickpea flour. So keep this in mind when measuring raw chickpeas.
Option 2: Washed chickpeas
This option is perfect if you are unsure about your chickpea’s origin or want to save money and avoid buying organic chickpeas.
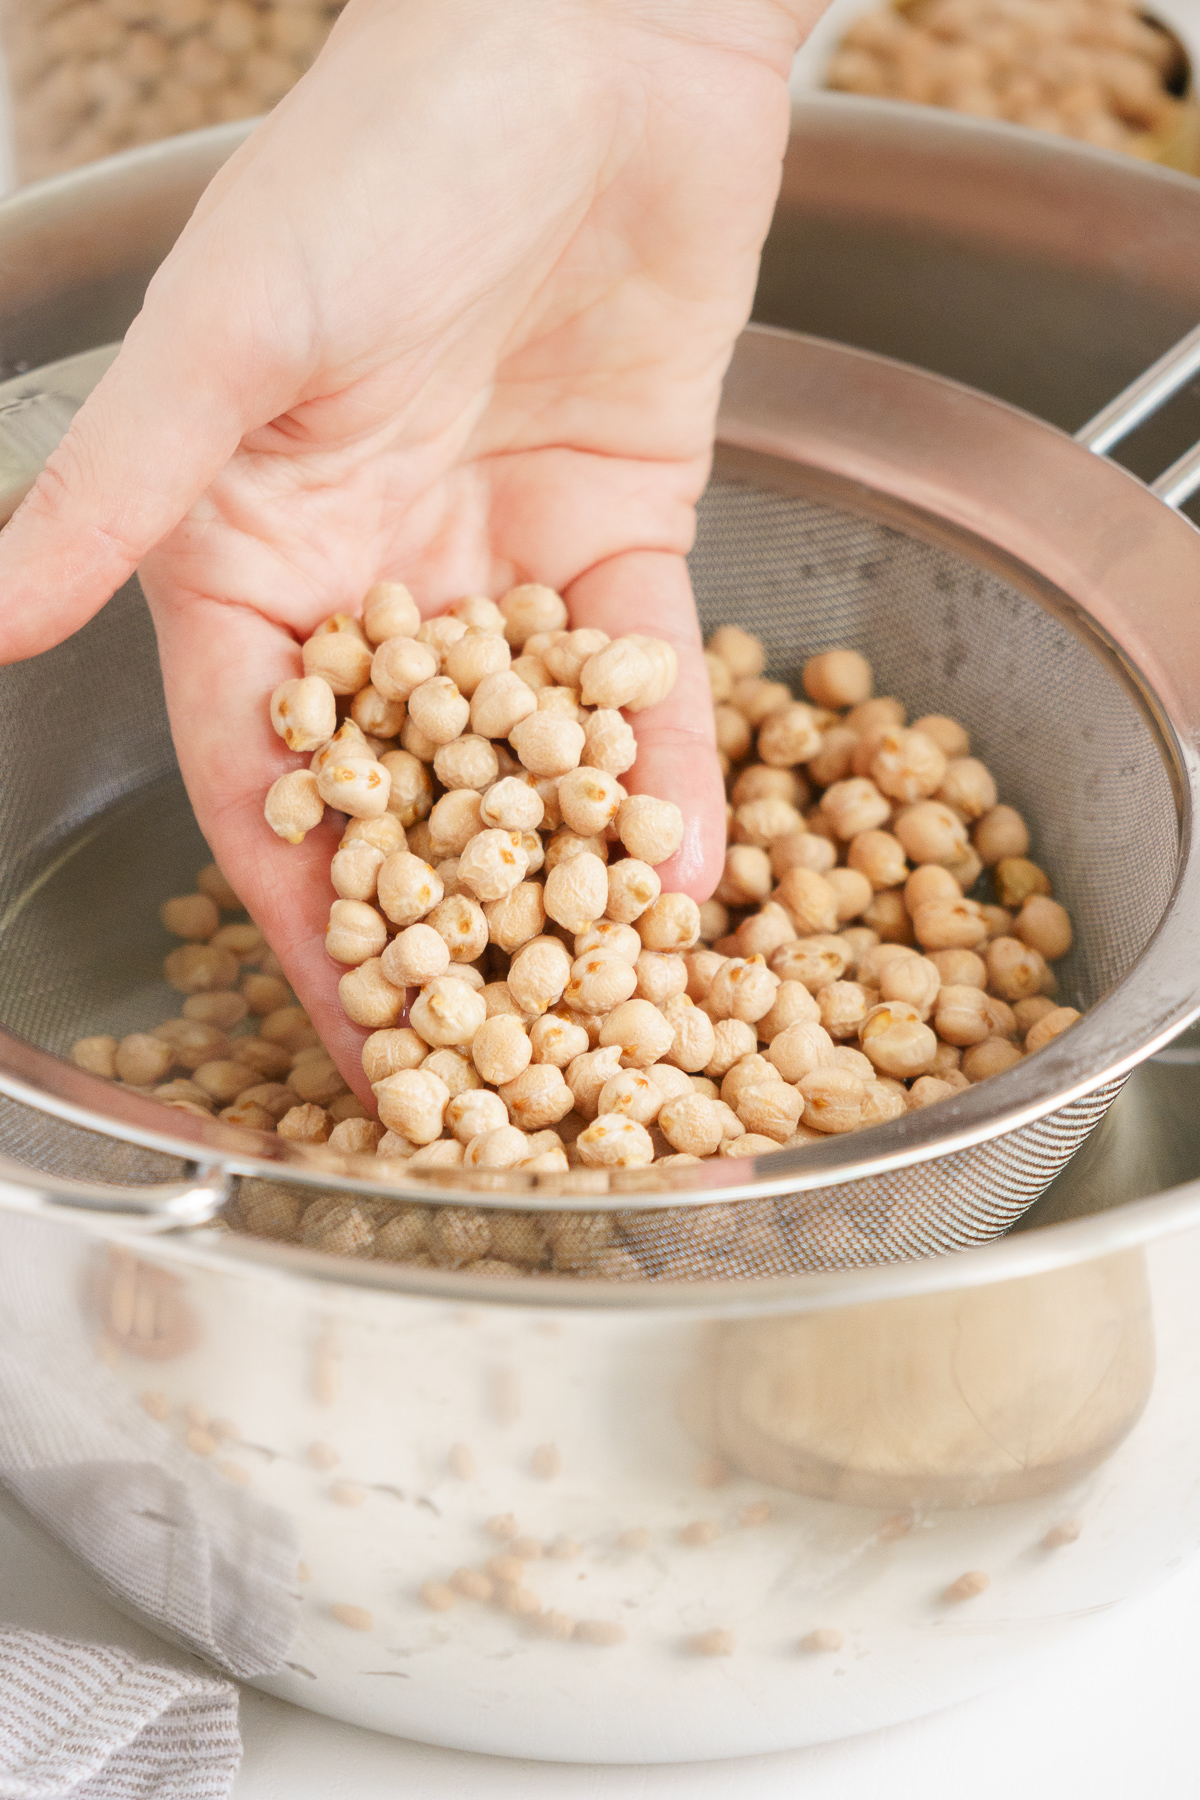
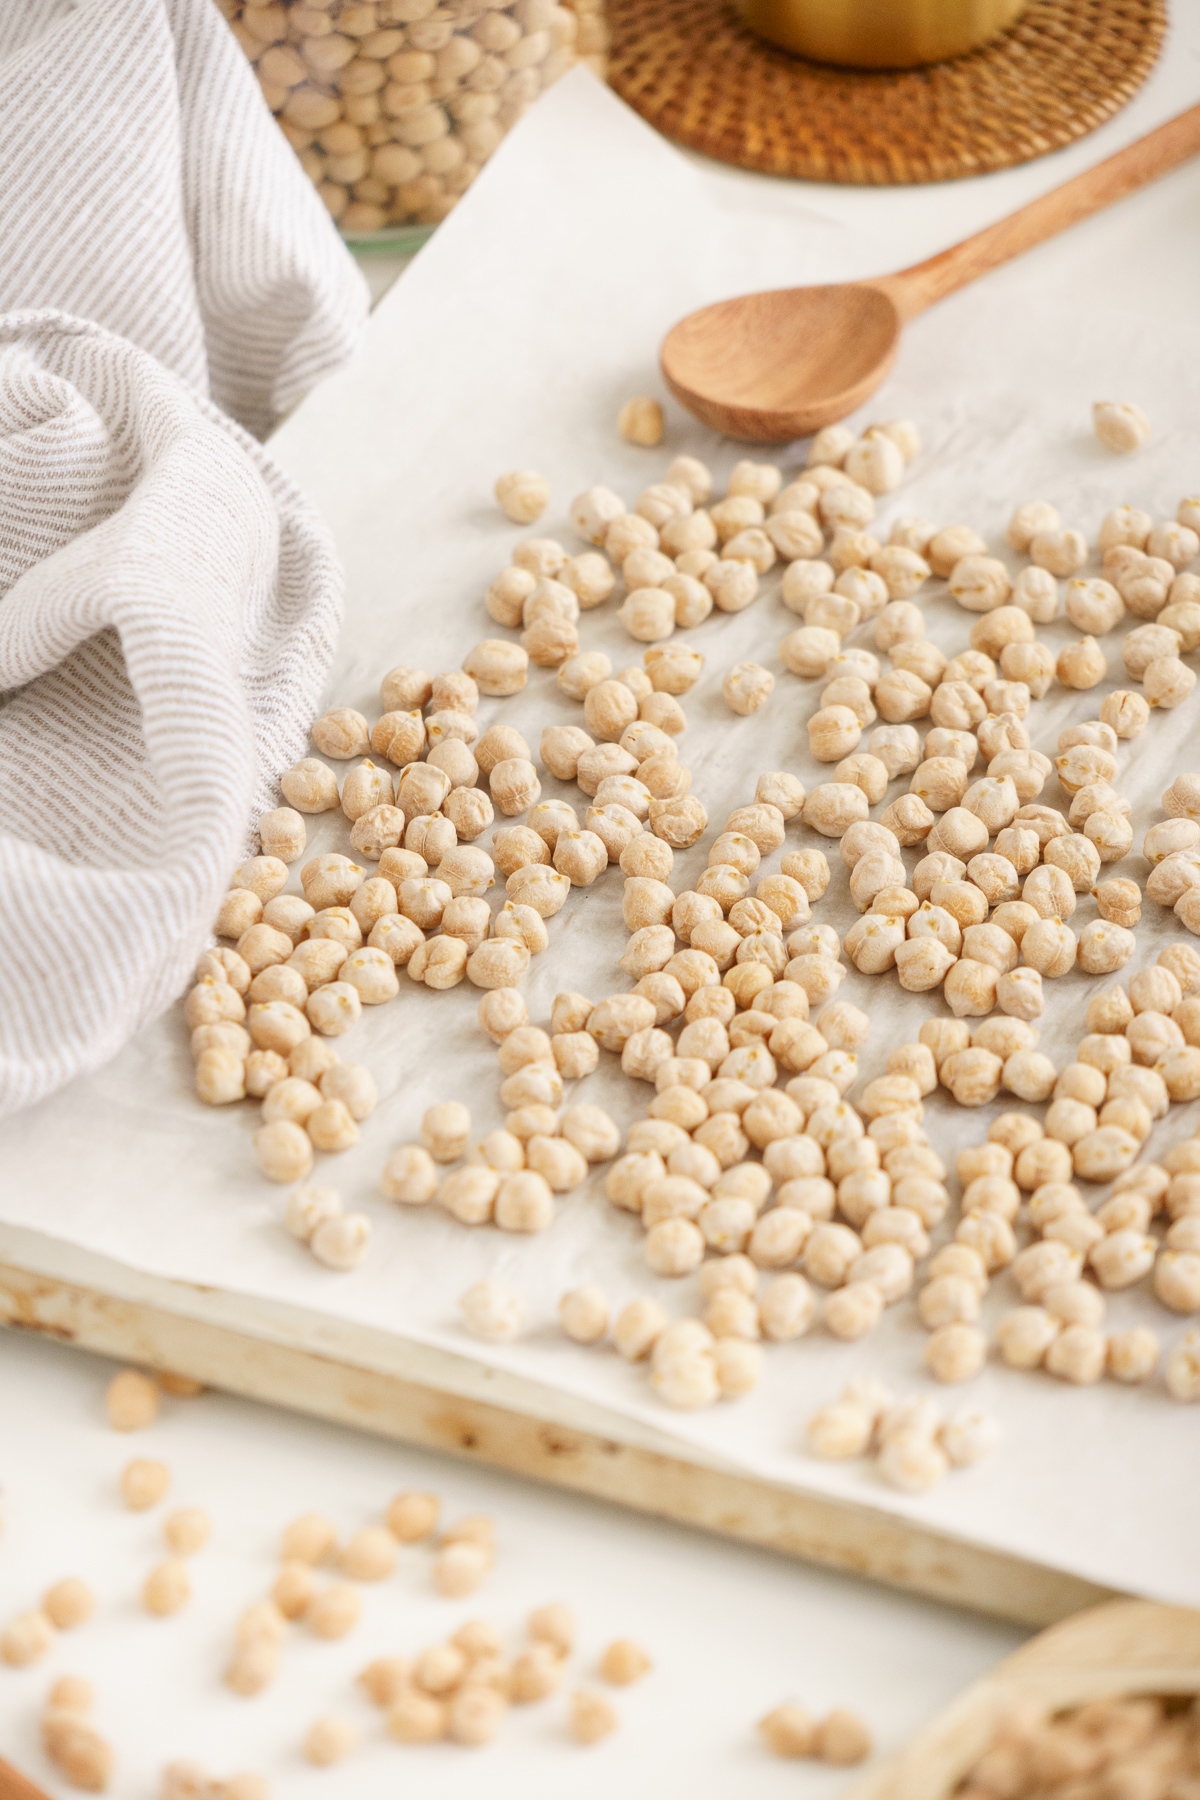
- Wash the chickpeas: Wash your chickpeas under cold water to remove any dust and dirt. Be thorough with this, as you’ll want to get rid of all impurities for the perfect flour! Dry the chickpeas with a kitchen towel.
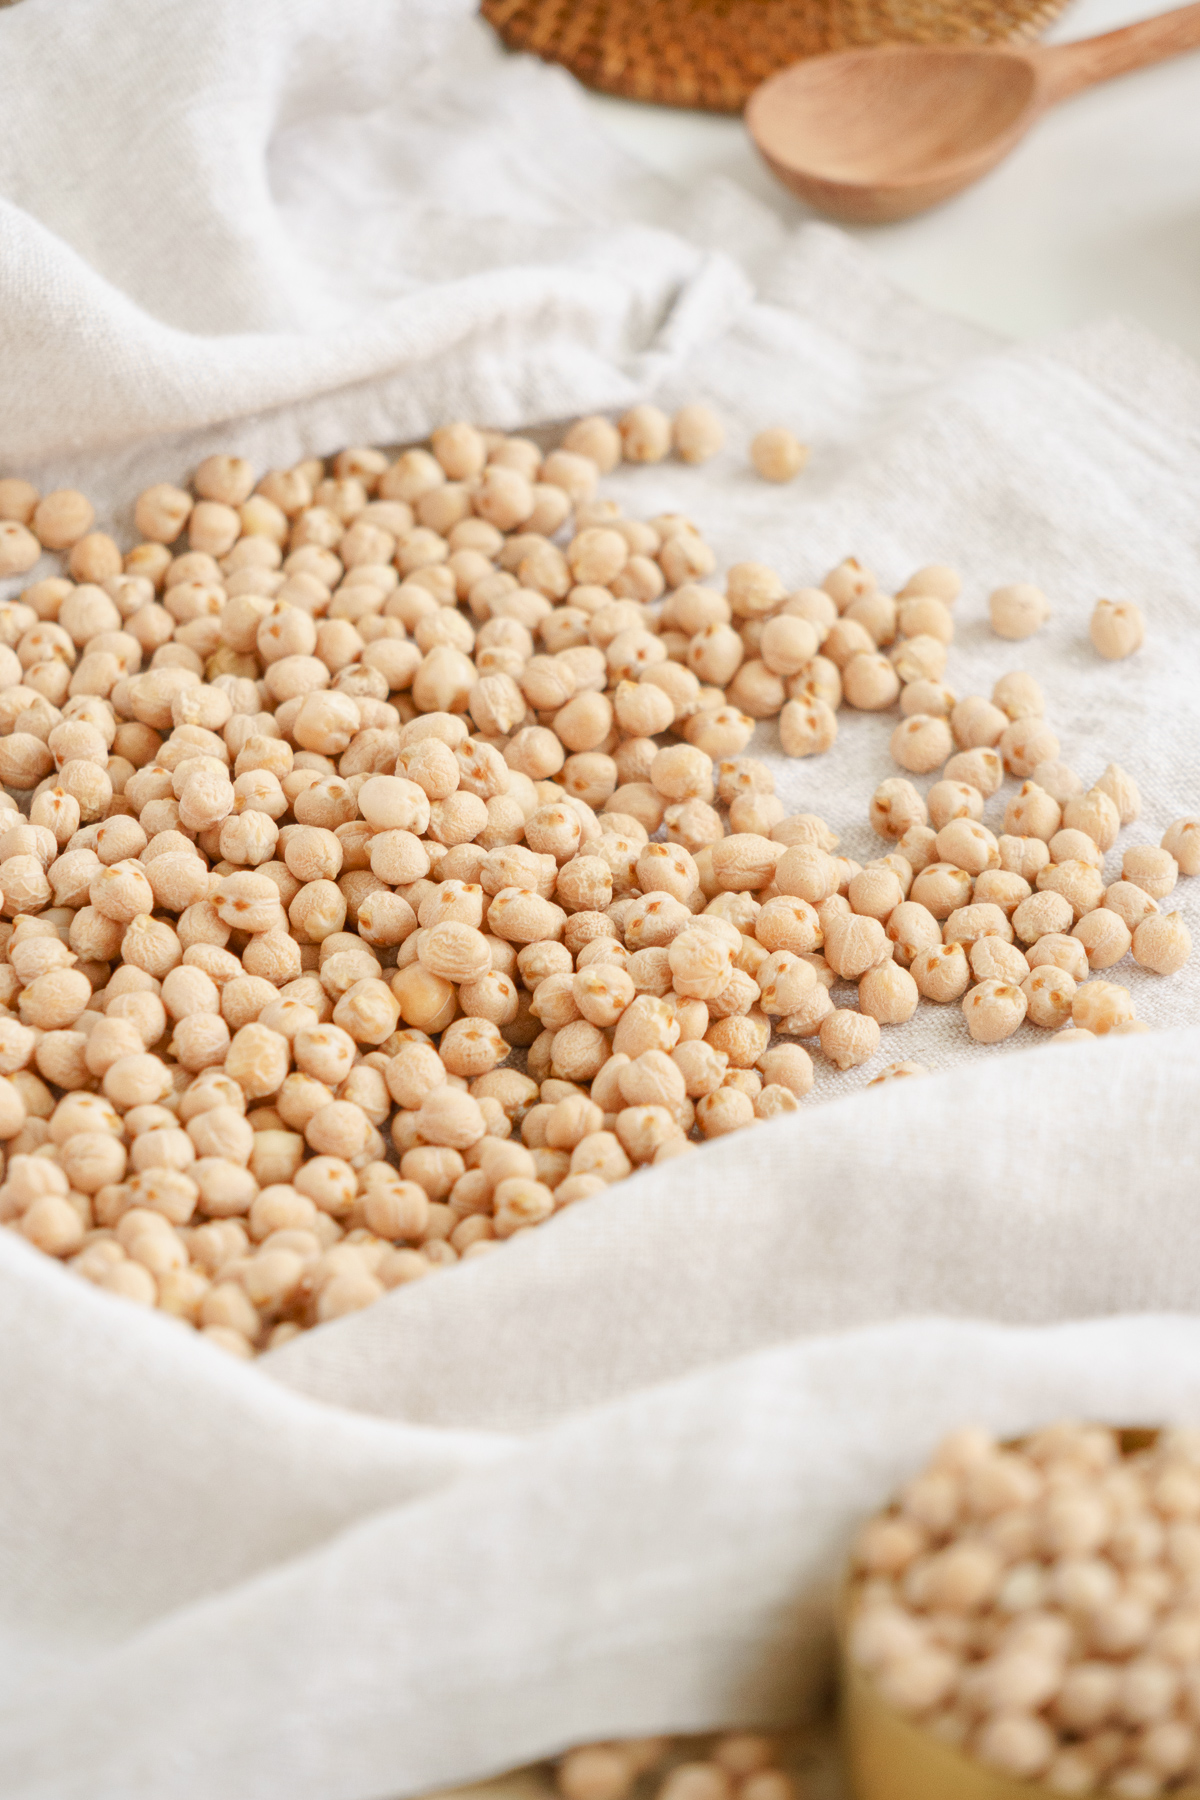
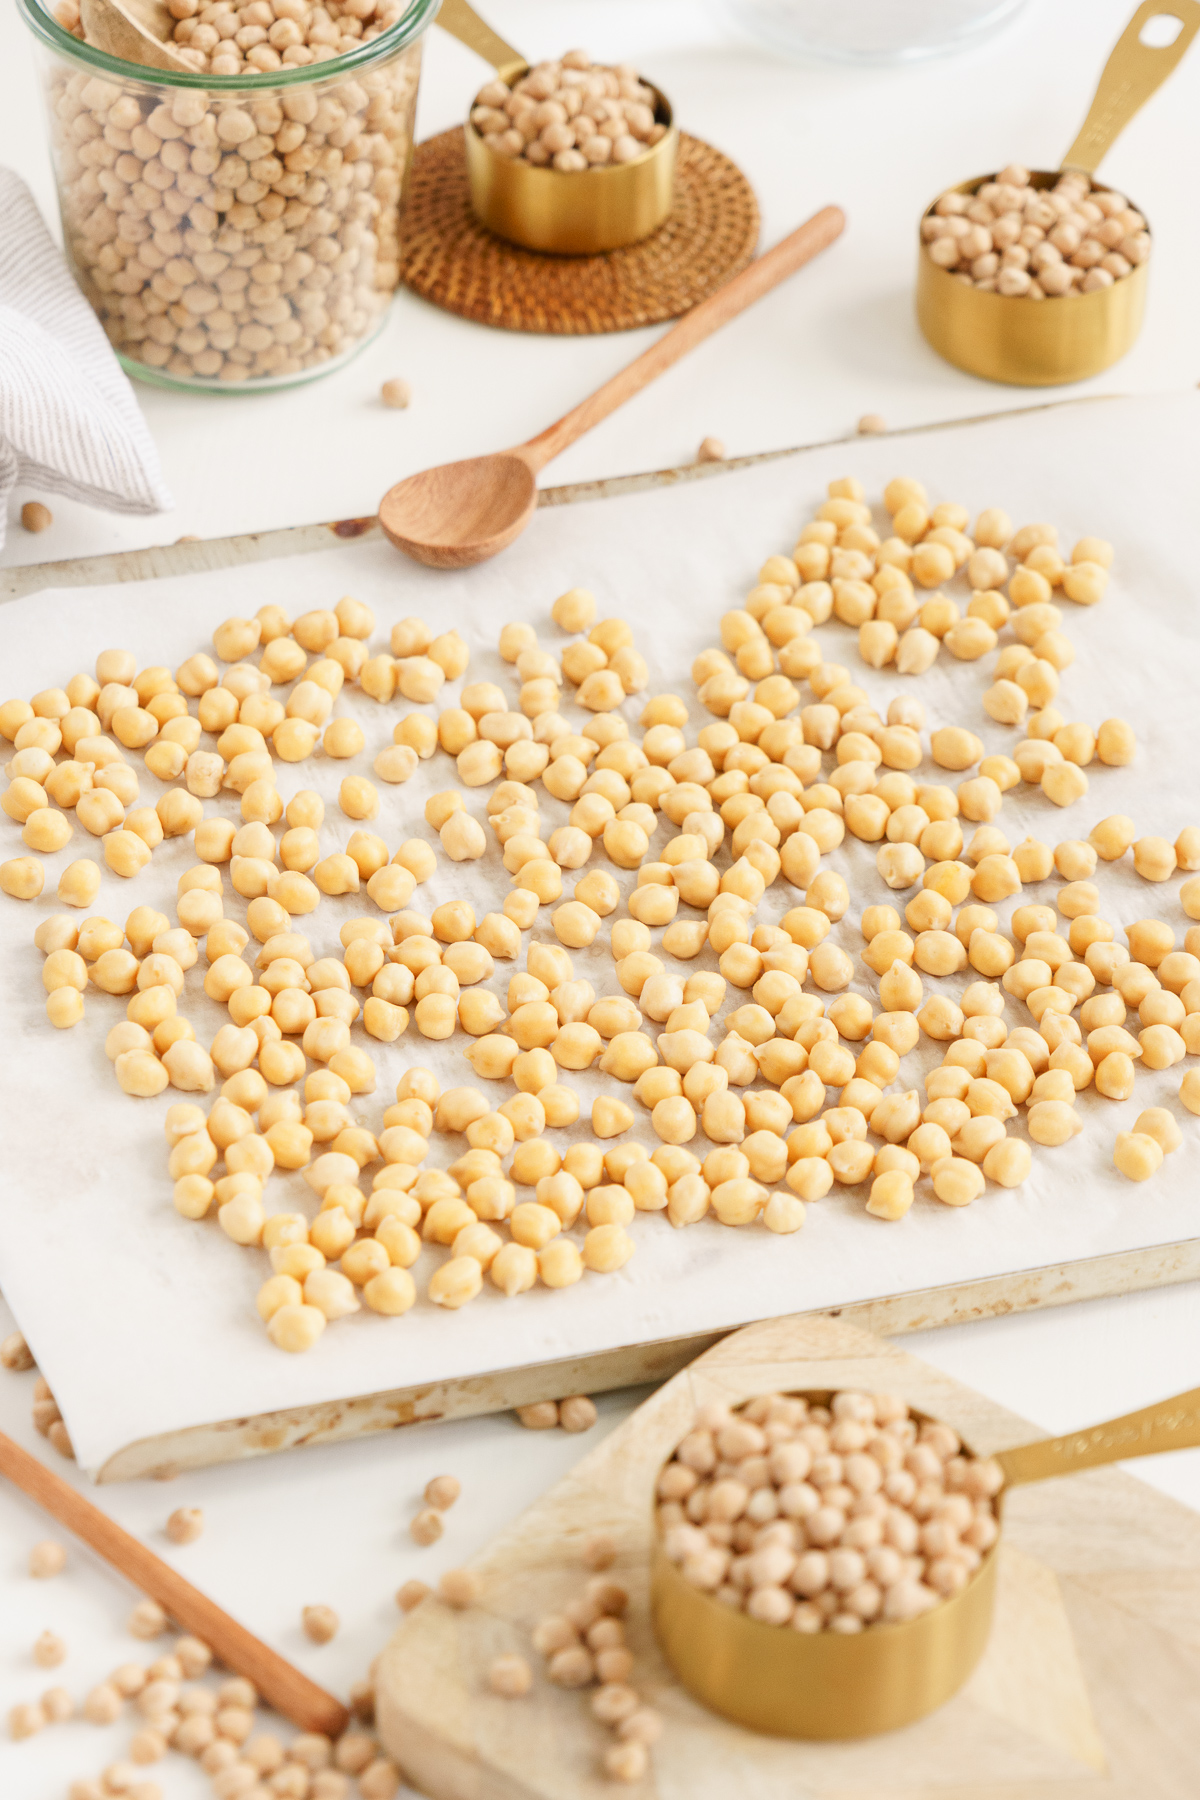
- Dry: Then place them on a baking sheet in a single layer (make sure nothing is touching!) and leave them at room temperature until completely dry (this can take 2-3 days!). You can also pop them in the oven for 2-3 hours at 200F (100C) if you’re in a rush.
- Blend away: Put your dried chickpeas into a high-speed blender or food processor until a fine powder forms.
- Sift and store: Sift your chickpeas for large lumps. If you find any, put them back in the blender, sift until everything is uniform, and store them away.
Option 3: Soaked chickpeas
Although this option is the most time-consuming, soaking the chickpeas makes the resulting flour more digestible and helps with nutrient absorption.
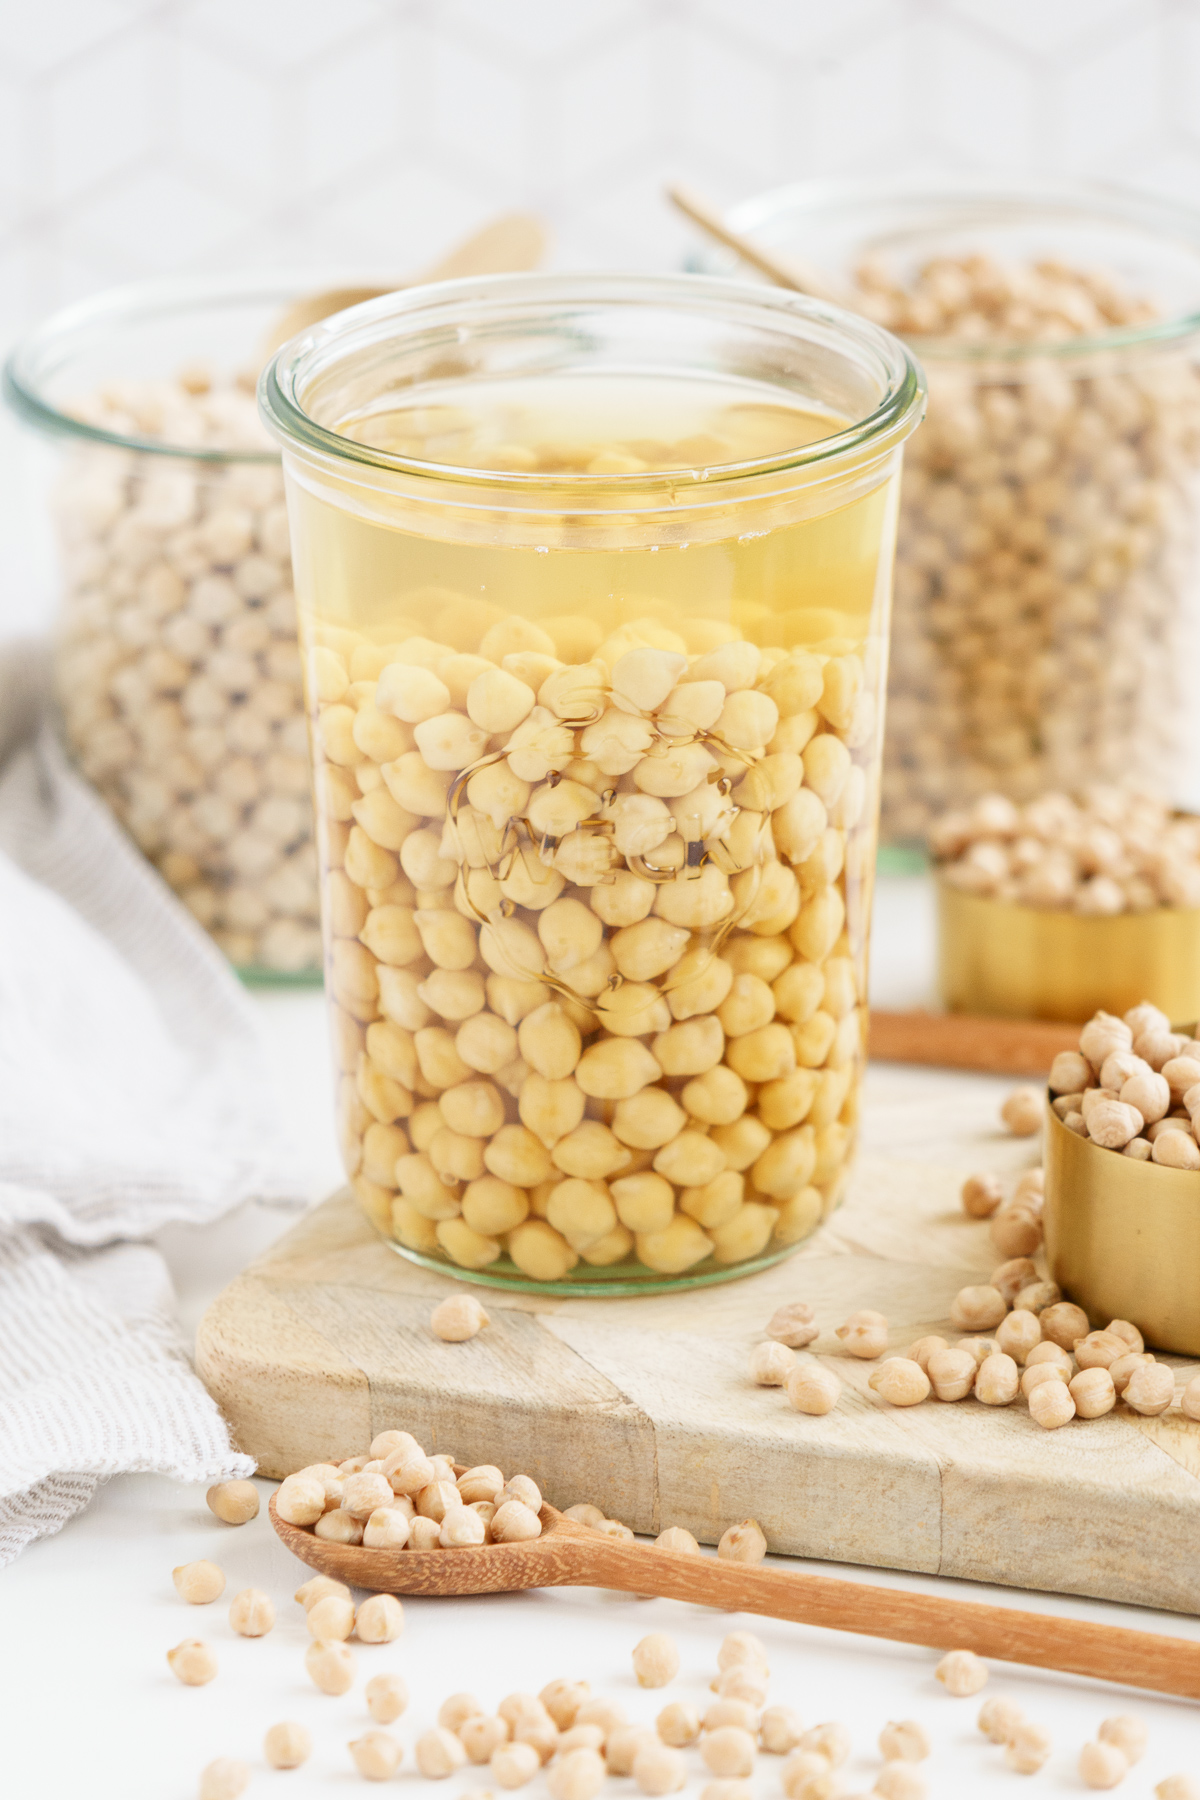
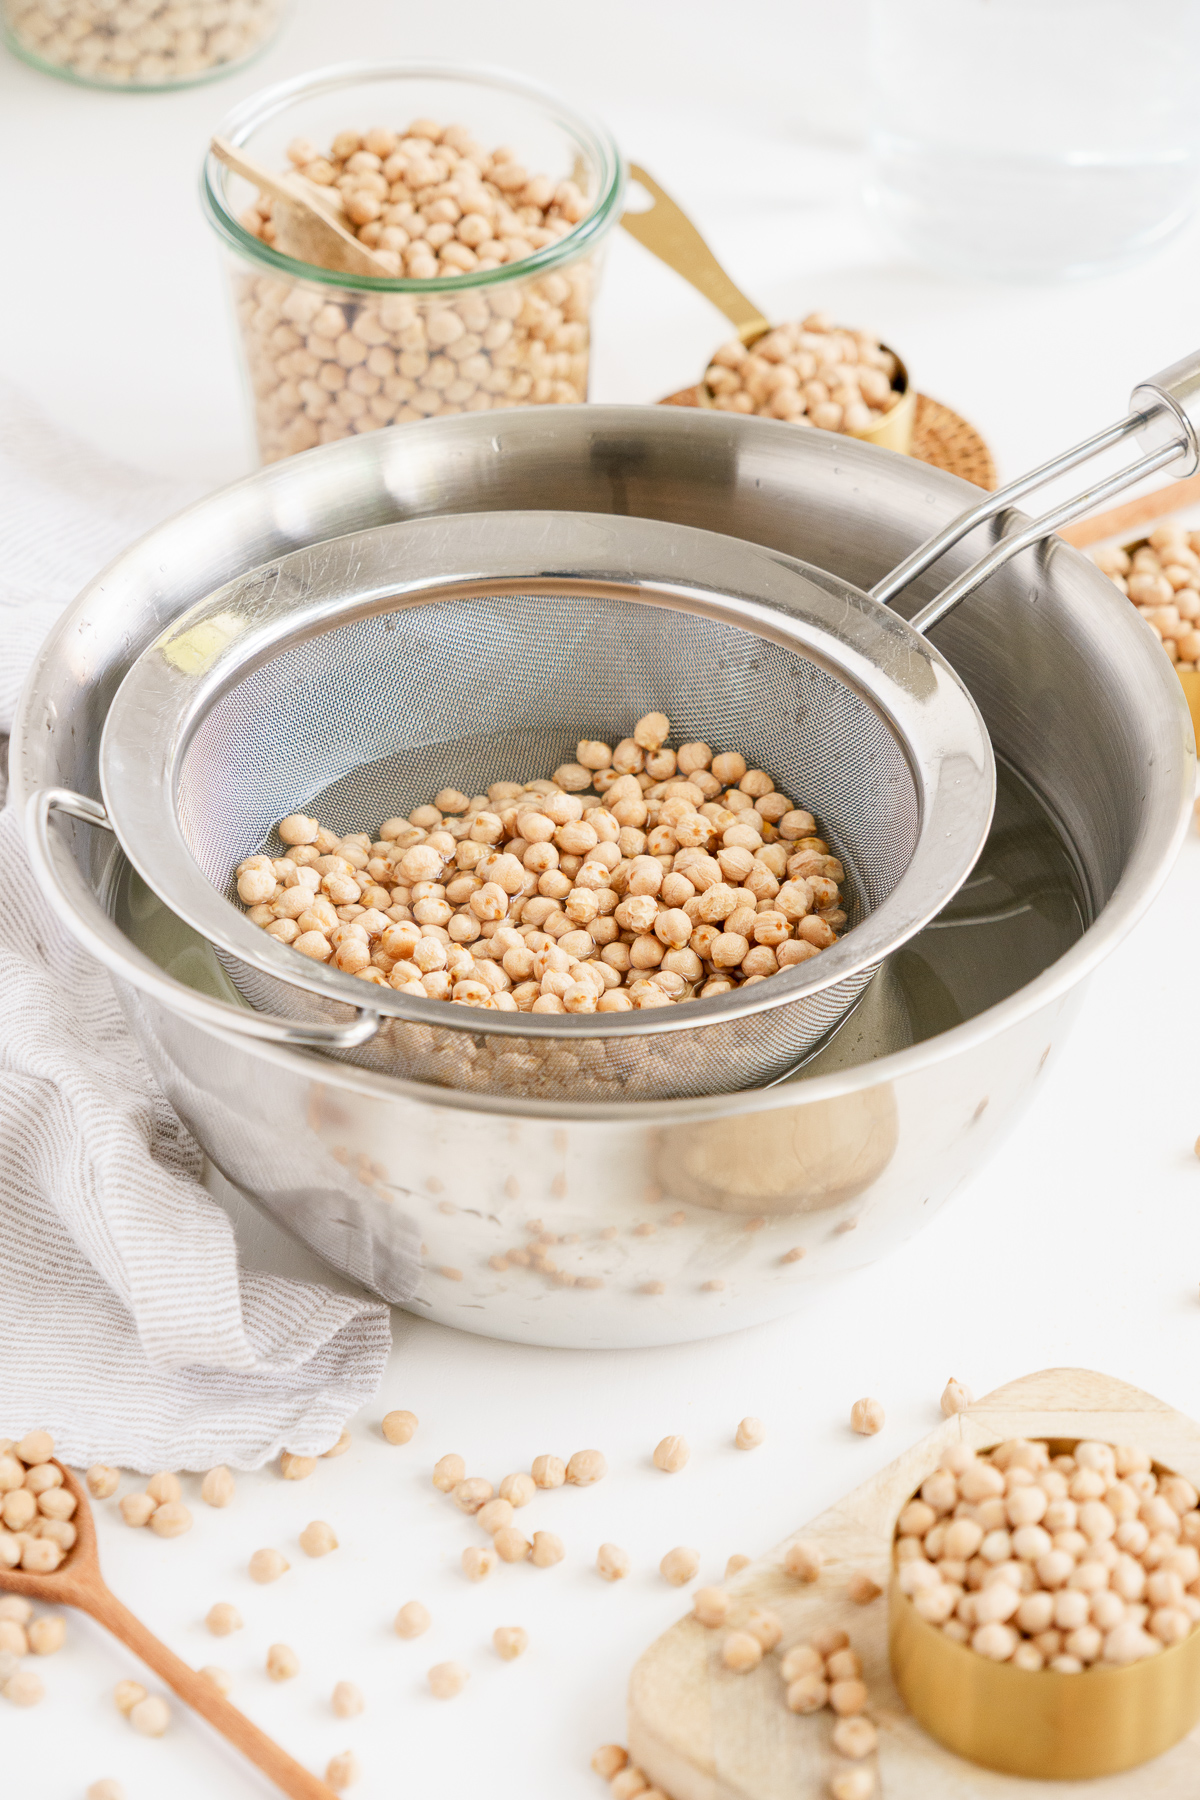
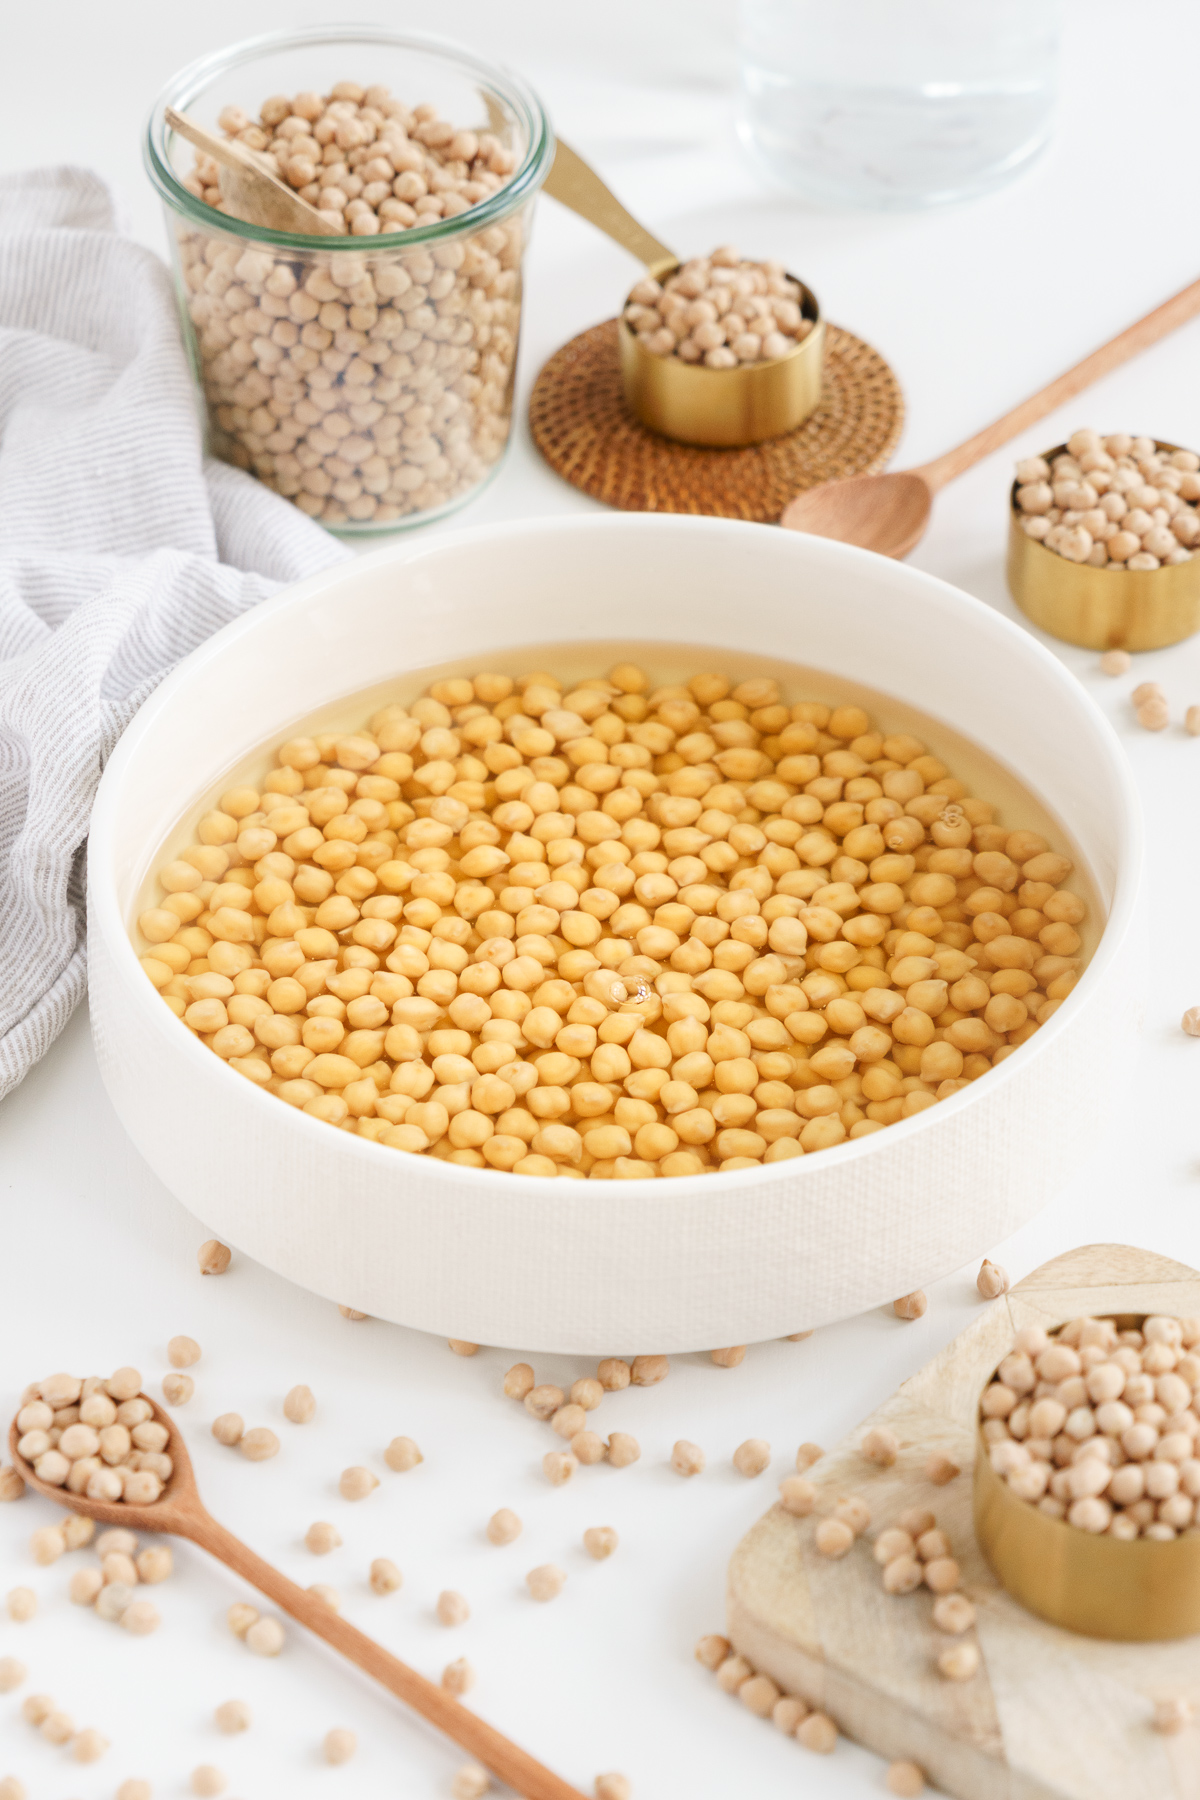
- Wash the chickpeas: Wash the chickpeas thoroughly in cold water and soak them for 12-24 hours. The longer, the better. You’ll want to cover them with at least three times their volume in water. This is because the chickpeas will expand as they soak.
- Drain and dry: Drain your chickpeas and rinse them well. Then, dry them with a kitchen towel.
- Put them in the oven: You’ll want to place your dried chickpeas on a baking sheet in a single layer. You can then dry them in the oven on medium heat (around 200F or 100C) for 8-10 hours or place them in a dehydrator for 12 hours at 120F (50C).
By the way…
If you use this method, your chickpeas must be completely dry (before you go nuts with the blender!). Otherwise, you’ll end up with a mushy paste instead of chickpea flour! I usually break open a single chickpea (one of the bigger ones) after drying to test the waters before blending.
Tips and FAQ
You might be tempted to remove the skin from your chickpeas. But there’s no need. It contains an incredible amount of fiber and nutrients; removing it will only make your flour blander. It’s the same reason I never remove chickpea skin from my hummus.
They’re all relatively similar, but each flour has slight differences – and it’s all down to the type of bean!
Chickpea flour is made from classic garbanzo beans.
Besan flour is usually made using 100% split brown chickpeas, aka chana dal. That’s basically brown chickpeas that have been spit open and skin removed. It’s usually finer and smoother than chickpea flour.
Gram flour is similar but is often made using a mix of yellow gram lentils or yellow split peas and split brown chickpeas.
You can. But you’ll need to dehydrate them before making flour. You can do this by drying them out in the oven or using a dehydrator.
But honestly, buying dried chickpeas is cheaper and easier if you’re making your own flour!
If you have a high-powered blender, it’s cheaper to make your own garbanzo bean flour.
You can usually grab one-pound bags of dried chickpeas for a bargain at a local grocery store or international markets.
This makes way more flour than you’d get at places like Whole Foods for the same price.
If you use a lot of garbanzo flour when cooking, you’ll save a significant amount over time.
Why I love making my own chickpea flour
- It’s ridiculously easy when you have a high-speed blender.
- It’s cheaper than buying overpriced bags from the grocery store.
- A great substitute to have on hand for gluten-free recipes.
- Tends to be fresher than store-bought versions that were made months ago.
- You know what’s in it!
How to use chickpea flour
There are so many amazing chickpea flour recipes out there.
I’ll sometimes throw a small spoonful into my favorite chickpea curry to thicken things up. But it’s also fabulous in vegan egg muffins, farinata or socca, chickpea flour tortillas, vegan French toast, and even chickpea flour crepes if you’re feeling sweet.
And pizza dough? Sign me up!
Oh, and don’t even get me started on these vegan Yorkshire puddings when the holidays roll around. They’re sensational drizzled with plant-based gravy and are the perfect match for a glorious nut roast.
Talk about mouthwatering!
If you decide to try making homemade chickpea flour, I’d love to hear how you manage. And if you try this recipe, leave me a comment and let me know how much you liked it!
If you try this chickpea flour recipe, please leave a comment and a rating and let me know how much you liked it!

How to Make Chickpea Flour
Ingredients
- 2 cups dry chickpeas
Instructions
Option 1: Raw Chickpeas
- Blend the dried chickpeas (note 1) in a high-speed blender. You can also use a spice grinder or a powerful food processor.
- Sift the mixture to separate the fine flour from any larger lumps. Blend the bigger bits again and sift.
- Store in an airtight container (I use these glass jars) for up to 3 months.
Option 2: Washed Chickpeas
- Wash your chickpeas (note 2) under cold water, and dry them well with a kitchen towel.
- Place them on a baking sheet in a single layer. Let them dry at room temperature in a warm spot for a day until completely dry, or dry them in the oven at 200F (100C) for 2-3 hours.
- Once cooled, blend the dried chickpeas in a high-speed blender.
- Sift the mixture to separate the fine flour from any larger lumps. Blend the bigger bits again and sift.
- Store in an airtight container for up to 3 months.
Option 3: Soaked and Dried Chickpeas
- Wash your chickpeas (note 3) under cold water, and soak them for a minimum of 12 to 24 hours. Cover them with at least three times their volume of water since they will absorb it and expand 2-3 times their size.
- Drain them and rinse well. Dry them with a kitchen towel.
- Place them on a baking sheet in a single layer. Dry them in the oven at 200F (100C) for 8-10 hours or in a dehydrator at 120F (50C) for 12 hours (note 4).
- Once cooled, blend the dried chickpeas in a high-speed blender.
- Sift the mixture to separate the fine flour from any larger lumps. Blend the bigger bits again and sift.
- Store in an airtight container for up to 3 months.
Notes
Nutrition
Did you make this recipe? Tag @gatheringdreams on Instagram. I want to see it!